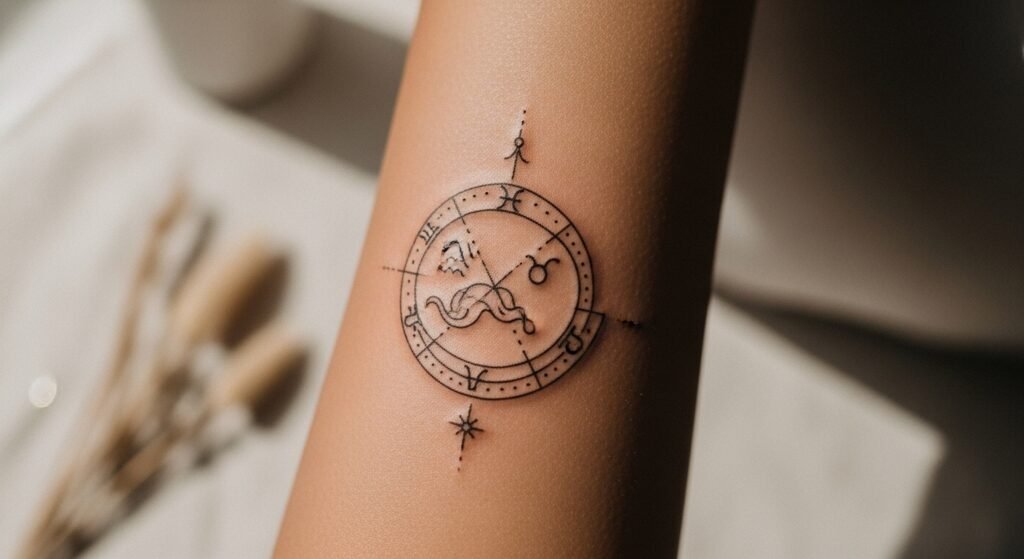
You’re staring at your saved mood board at 2 a.m., finally ready to make that astrology tattoo real. Maybe it’s a tiny birth-chart symbol, a constellation map, or a stylized sun/moon pair you’ve sketched into the margins. You want something meaningful that won’t blur into a blob in a year.
This guide walks you through designing a unique astrology tattoo, choosing placement and style, prepping for the session, and nailing the aftercare routine so your piece heals like the reference image. For pain-sensitive placements, try a tattoo numbing cream about an hour before your sit. I also keep a roll of Saniderm second skin in my aftercare kit—leave it on for 3–5 days and your first wash is so much easier.
Gather meaningful elements & build a custom design (fine line, minimalist, neo-traditional)
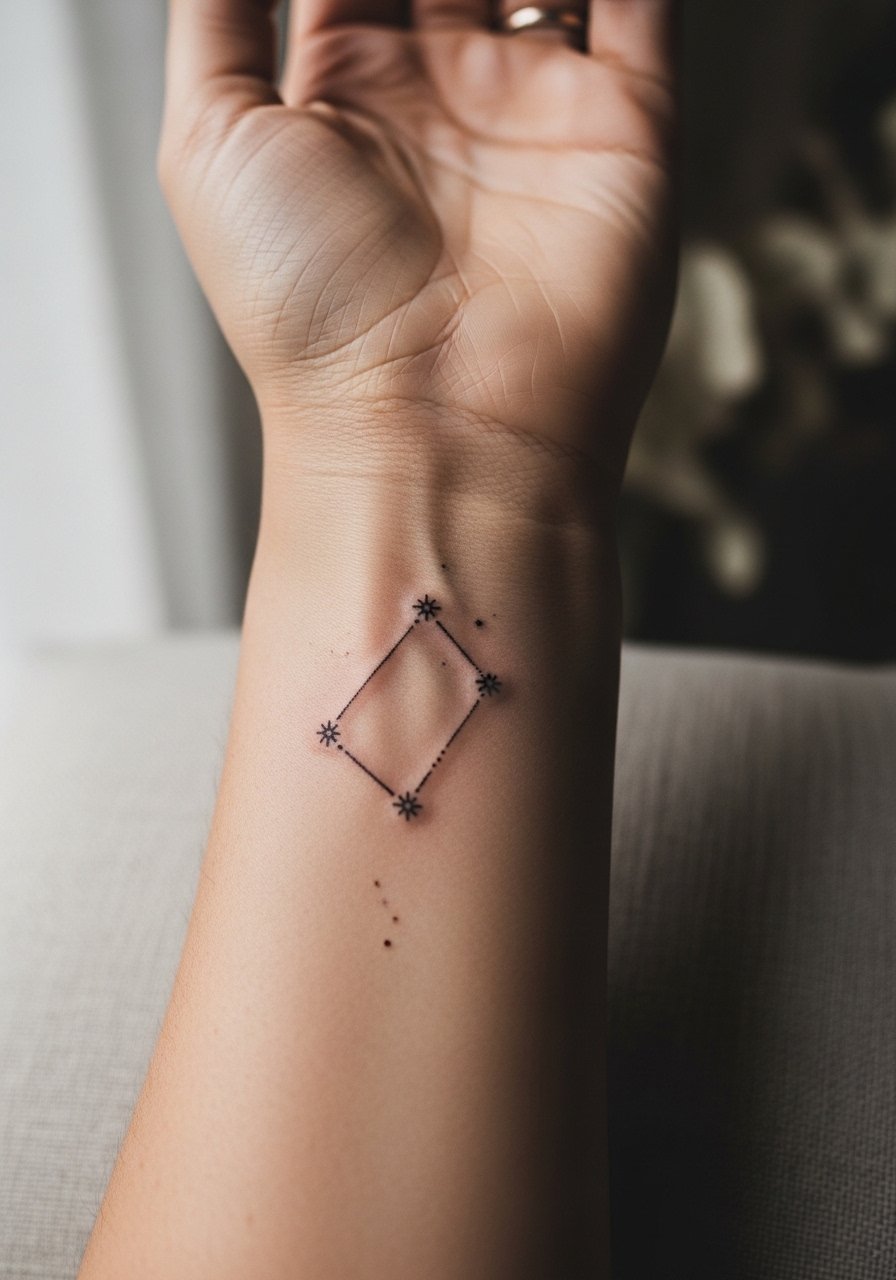
Start by listing the elements that matter: astrological symbols, birth chart houses, constellation shapes, planetary glyphs, or a meaningful quote. Mix scales: a tiny glyph for discretion, a small constellation for flow. For a fine line or minimalist astrology tattoo, less is often more—thin lines read better at small sizes and age more gracefully.
Tips:
- Show your artist clear references: photos, sketches, and screenshots of styles you like.
- Try a digital mock-up in Procreate or use an Inkbox semi-permanent kit to test placement for a week.
- Ask about line weight changes at smaller sizes—if lines are thinner than 0.5mm, they may blur over time.
Choose placement, size, and style (beginner placement, pain, healed results)
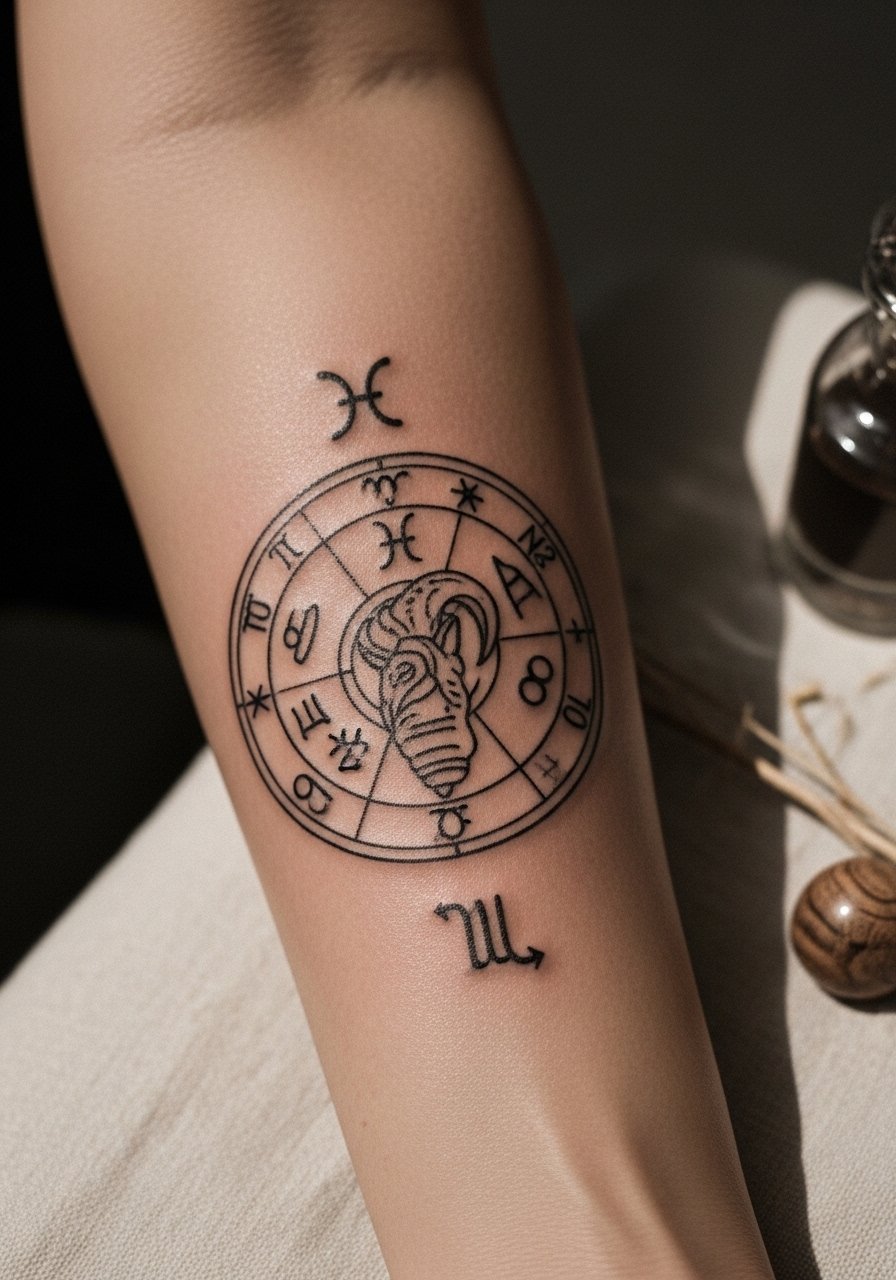
Placement affects visibility, pain, and how the design ages. Beginner-friendly spots: outer forearm, shoulder blade, and upper thigh—these are lower-pain and show healed results clearly. Avoid high-motion, thin-skin areas (side ribs, fingers) if you want longevity with fine-line work.
Consider:
- Scale up slightly for fine-line pieces on joints to avoid blurring.
- Ask the artist for a stencil you can move around to check flow.
- If sun is likely, plan for daily protection with a mineral SPF stick after the tattoo is healed.
Prep for your session: skin, pain management, and stencil testing
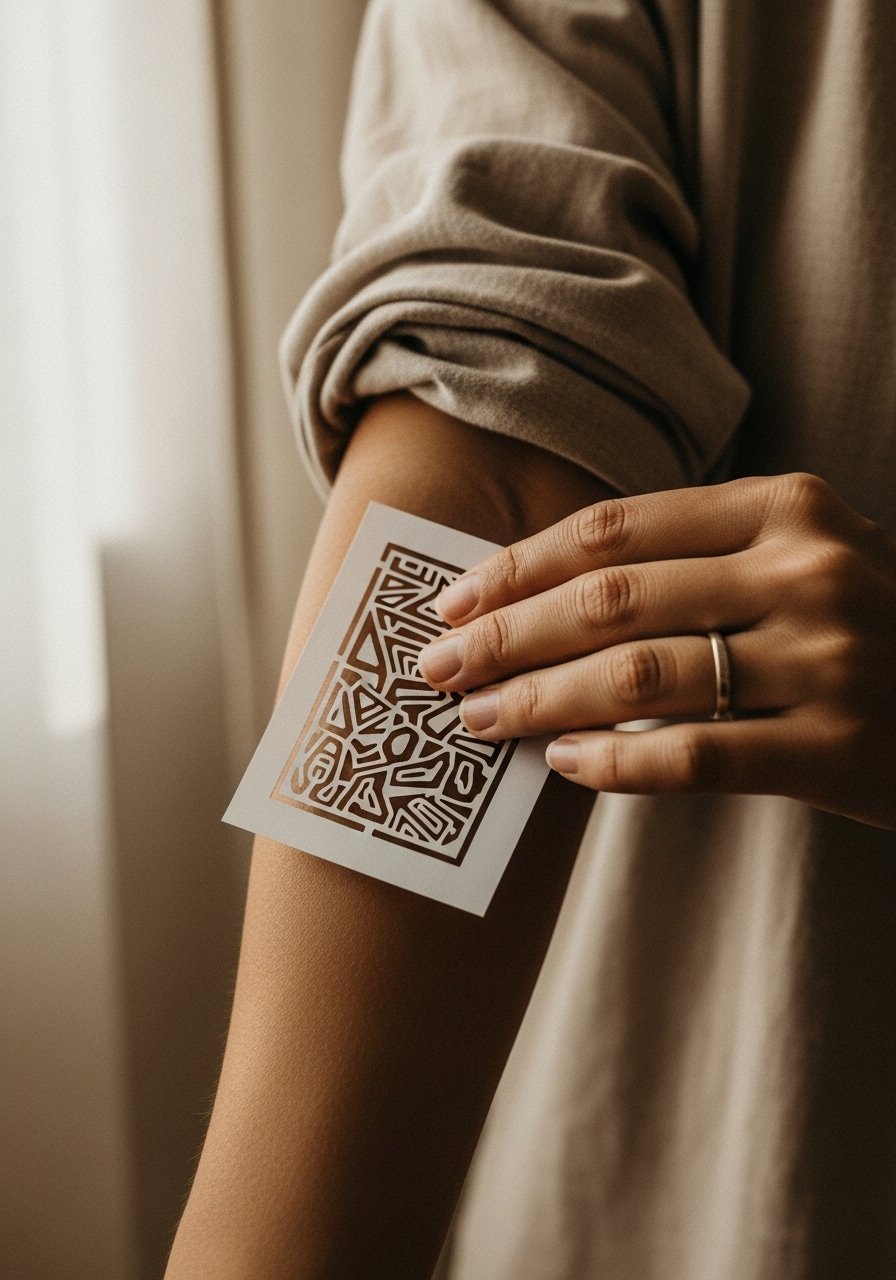
Prepping the night before saves stress. Shave the area with a single-use prep razor if needed, hydrate well, and skip alcohol. If your placement is sensitive, apply a thin layer of numbing cream about 60 minutes before the appointment, per product directions.
During consultation:
- Show your reference folder and say what you’ll accept or not.
- Request a stencil adjustment and stand or sit naturally while the artist places it.
- Confirm session length and aftercare expectations.
Aftercare routine and long-term care (aftercare routine, touch-up, healed results)
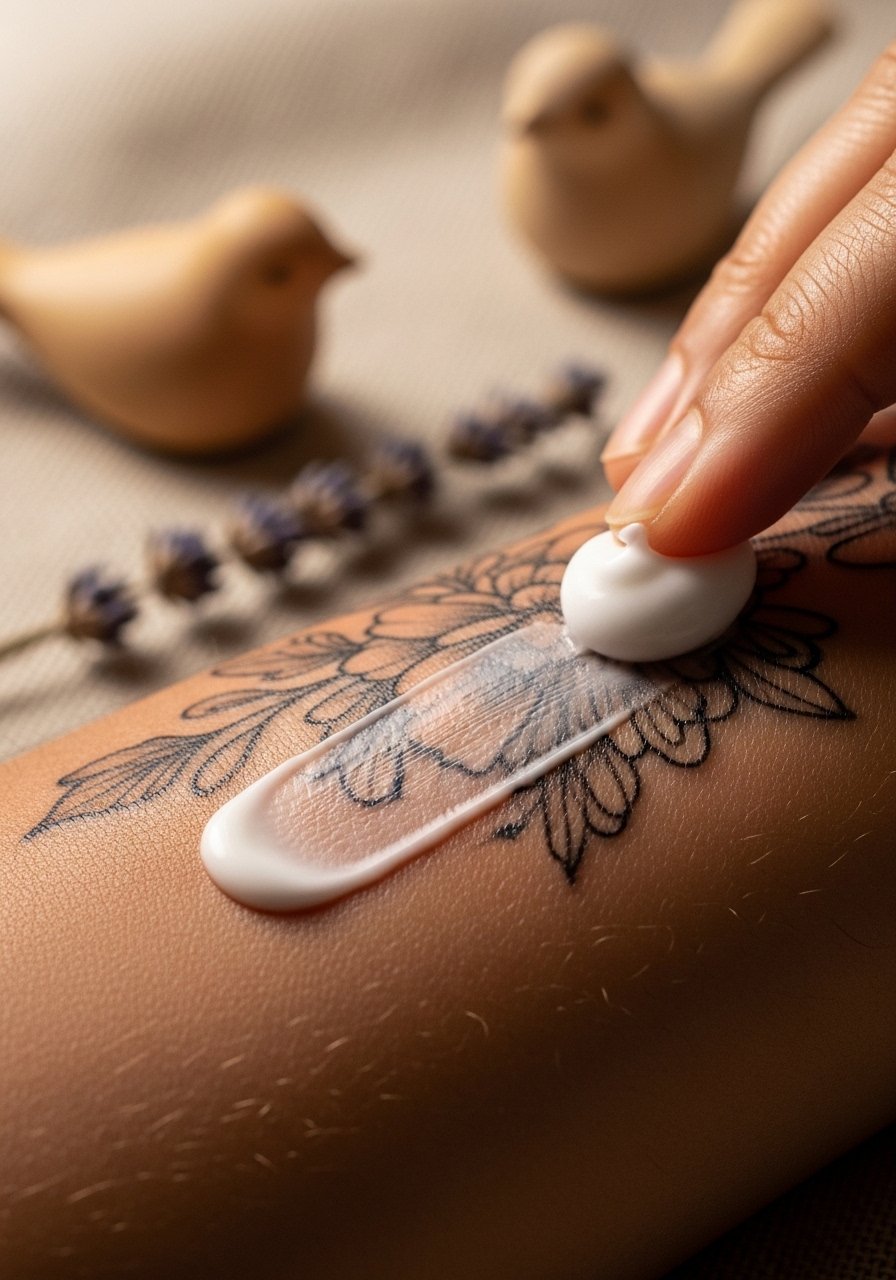
Immediate: follow your artist’s wrap instructions—if they use Saniderm, leave it on 3–5 days, then wash gently. If no second skin, remove bandage after 2–8 hours, wash with a fragrance-free antibacterial soap twice daily, pat dry, then apply a thin layer of unscented tattoo aftercare lotion 2x/day.
Healing benchmarks:
- Days 1–3: redness and plasma are normal.
- Days 3–10: mild peeling and itching—don’t pick scabs.
- 4–8 weeks: surface healed; deeper ink settled.
- Plan touch-ups after 8–12 weeks if lines fade or patch.
Long-term care:
- Daily SPF with a mineral SPF stick on exposed pieces.
- Monthly moisturize with a fragrance-free lotion or a tattoo brightening balm to keep contrast.
- For stubborn dryness, a light application of Vitamin E oil on healed skin helps texture.
Common mistakes to avoid:
- Over-moisturizing during peeling—use a pea-sized amount.
- Picking flakes—this causes ink loss.
- Skipping sunscreen—UV fades color fastest.
You’ve got a clearer path now: pick your meaningful elements, test placement, prep smartly, and treat the healing window with care so your astrology tattoo ages well. Build your aftercare kit tonight—Saniderm, a fragrance-free soap, and a reliable lotion—and pin this guide before your consultation. Which sign or symbol are you thinking of for your piece?