You’re sitting in a waiting room, scrolling inspo at 2 a.m., or finally booking the consult for that shoulder cap tattoo design you’ve sketched for months. The shoulder cap is perfect for flow and visibility, but choosing the right design and size feels like a puzzle. This guide helps you pick a shoulder cap tattoo design that flatters your body and reflects your personality, without regret.
I always prep an aftercare kit the night before and keep a roll of Saniderm second-skin bandage roll on hand for long first-day protection. If you’re nervous about pain, try a topical Zensa numbing cream applied about an hour before your session. Read on for placement advice, design tips, an aftercare routine, artist consultation points, and realistic healing benchmarks.
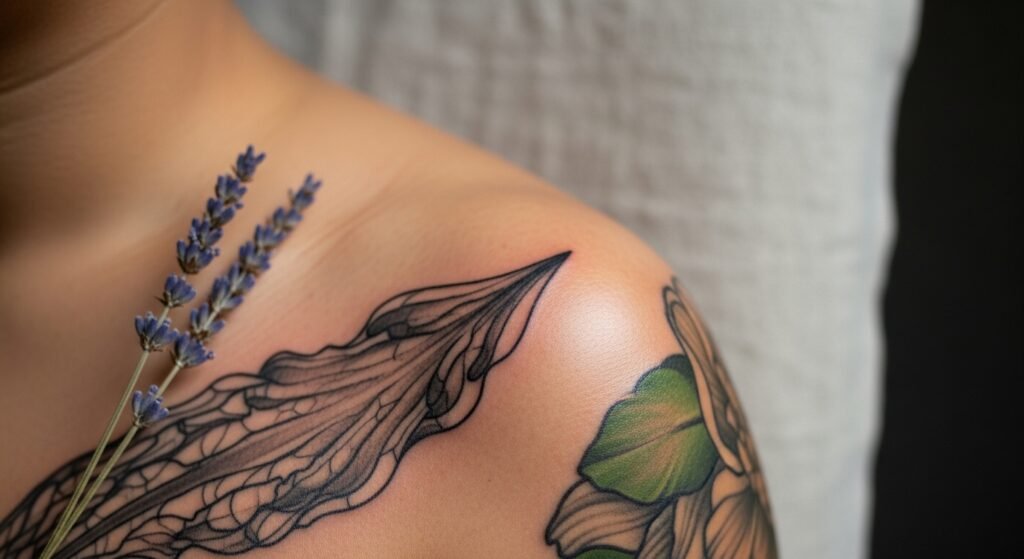
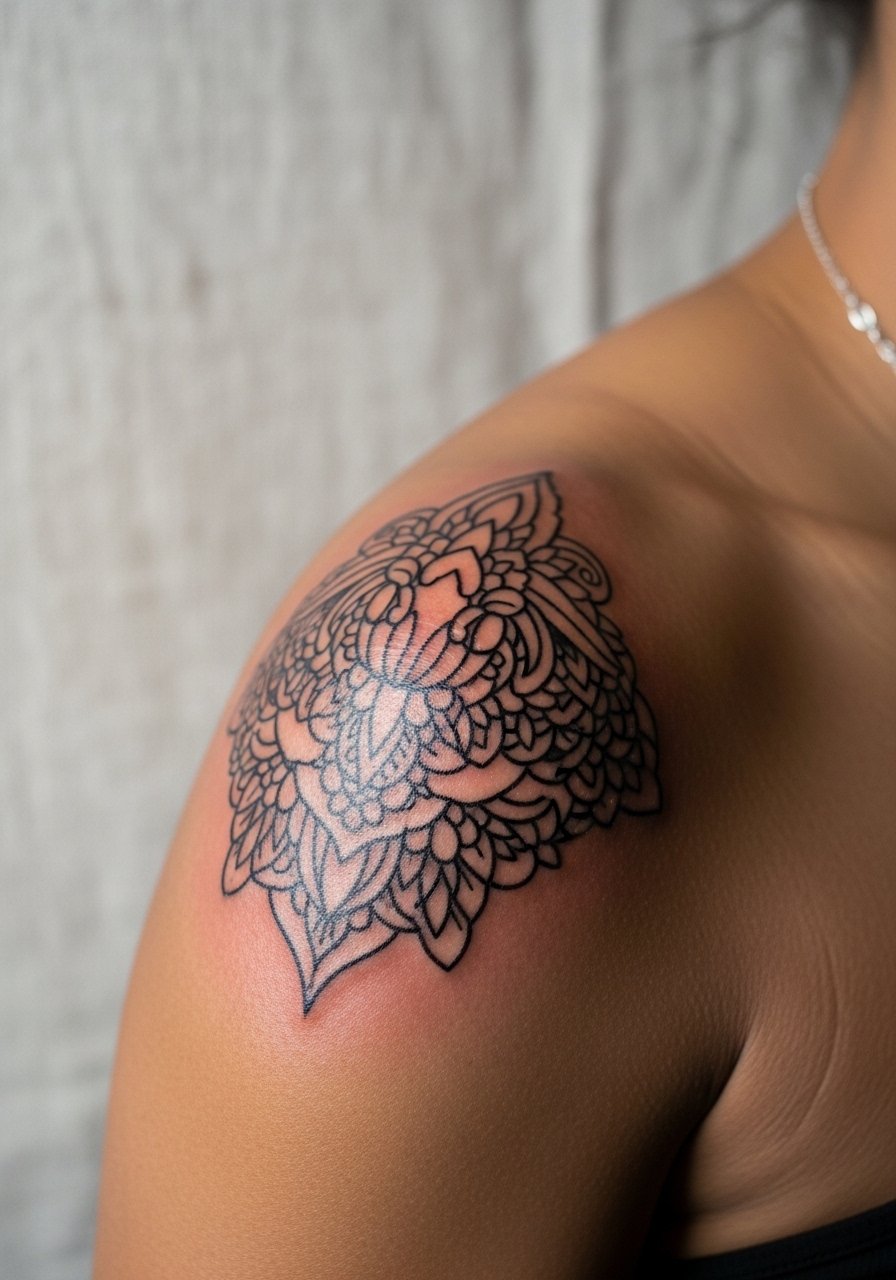
Choose placement and scale that flatters your shoulder cap
Start by studying the shoulder’s curve and how clothing will reveal it. A design that follows the clavicle or wraps slightly over the deltoid reads more fluidly than a rigid, symmetrical piece. For a shoulder cap tattoo design:
- Consider width: 3–6 inches often suits most builds; scale up for broader shoulders.
- Favor flow: arcs, vines, or halo shapes move with muscle.
- Visibility: pick a high or low cap depending on whether you want casual exposure.
Test size with an Inkbox semi-permanent tattoo kit or use tattoo stencil transfer paper to paste a candidate design on your skin for a day.
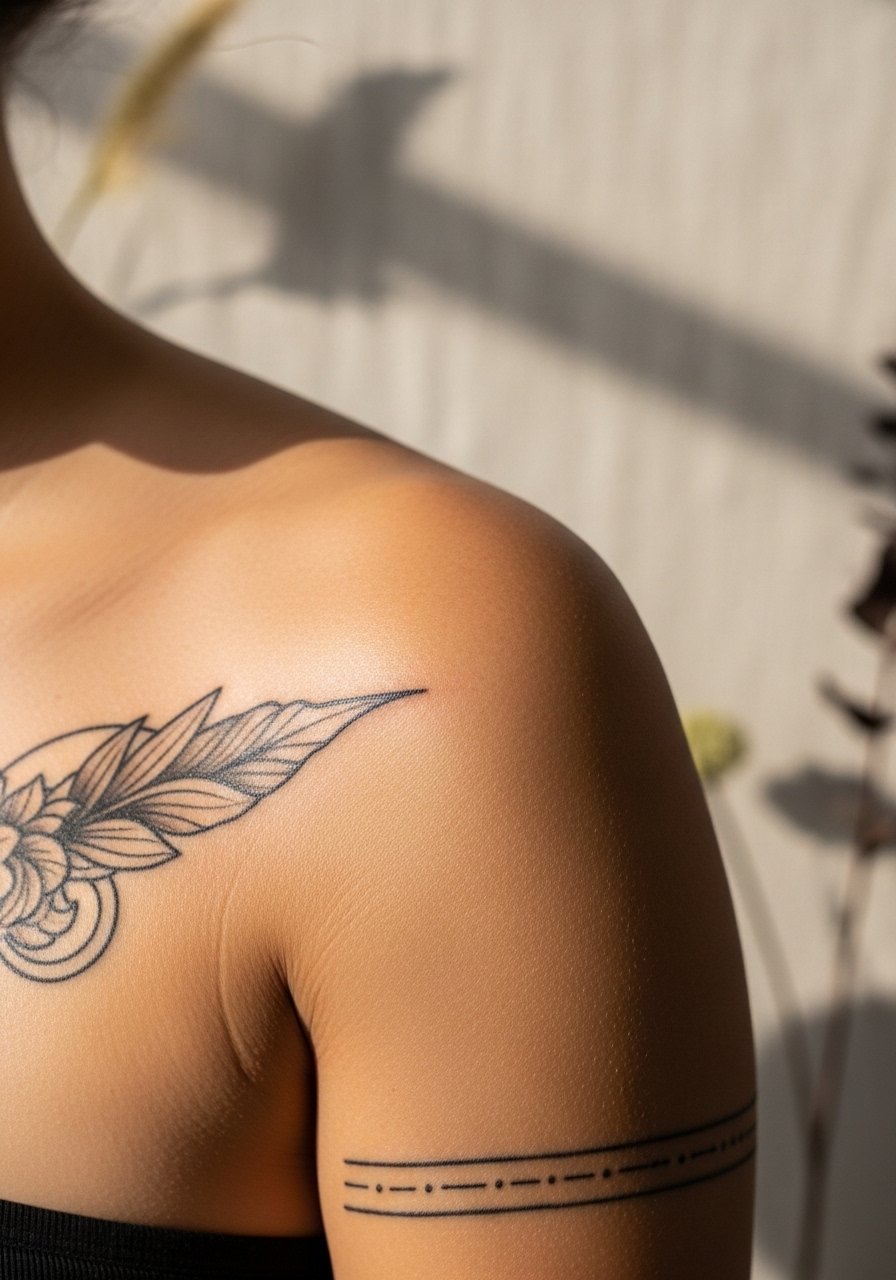
Pick a style that matches your personality: fine line, minimalist, or bold blackwork
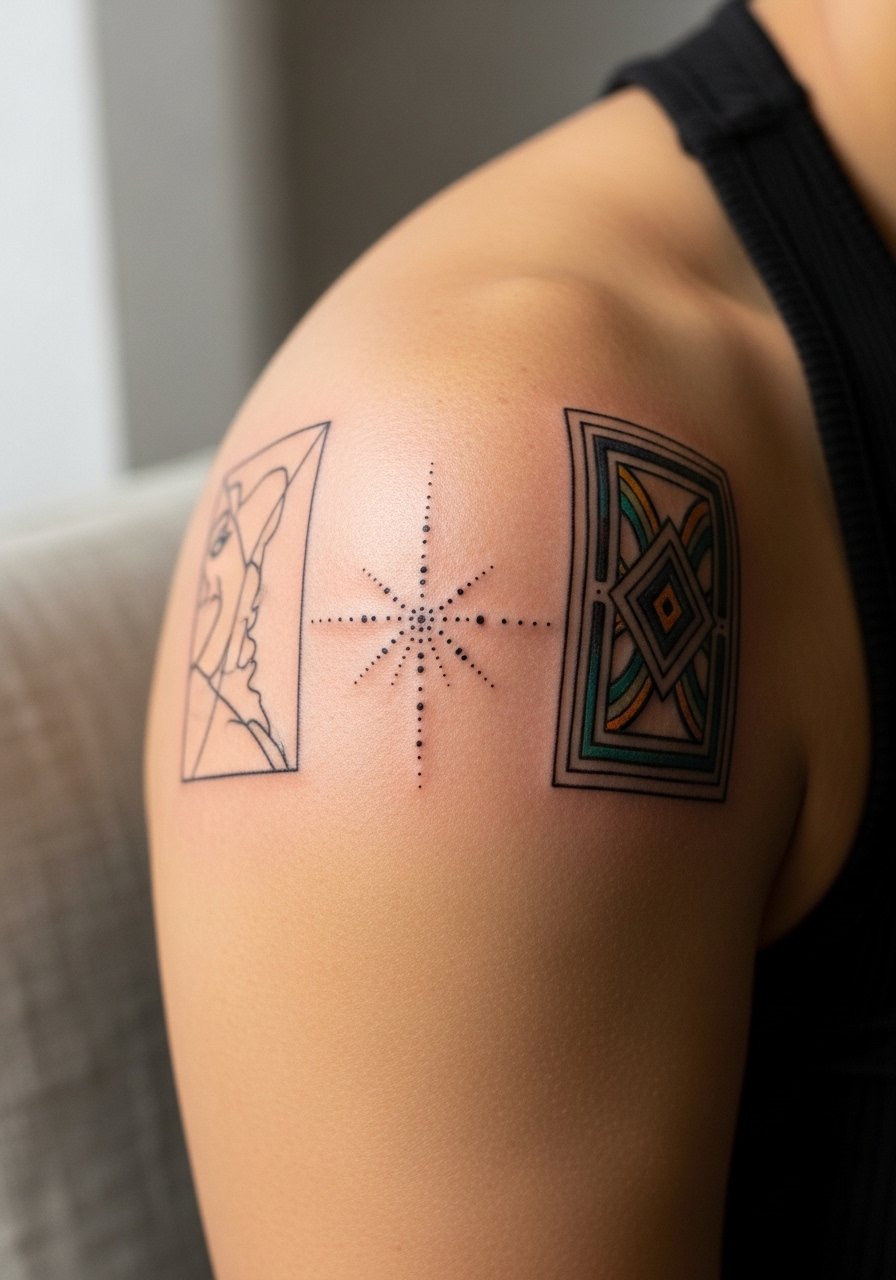
Decide whether you want delicate fine line, minimalist single-needle work, dark blackwork, or a neo-traditional piece. Each style ages differently:
- Fine line and minimalist look elegant but can need touch-ups sooner.
- Blackwork holds contrast longer on sun-exposed shoulders.
Bring reference images and a tattoo flash art book to your consult. A portable sketchbook for artists helps you refine ideas before the session.
Prep your skin and manage pain for the best session
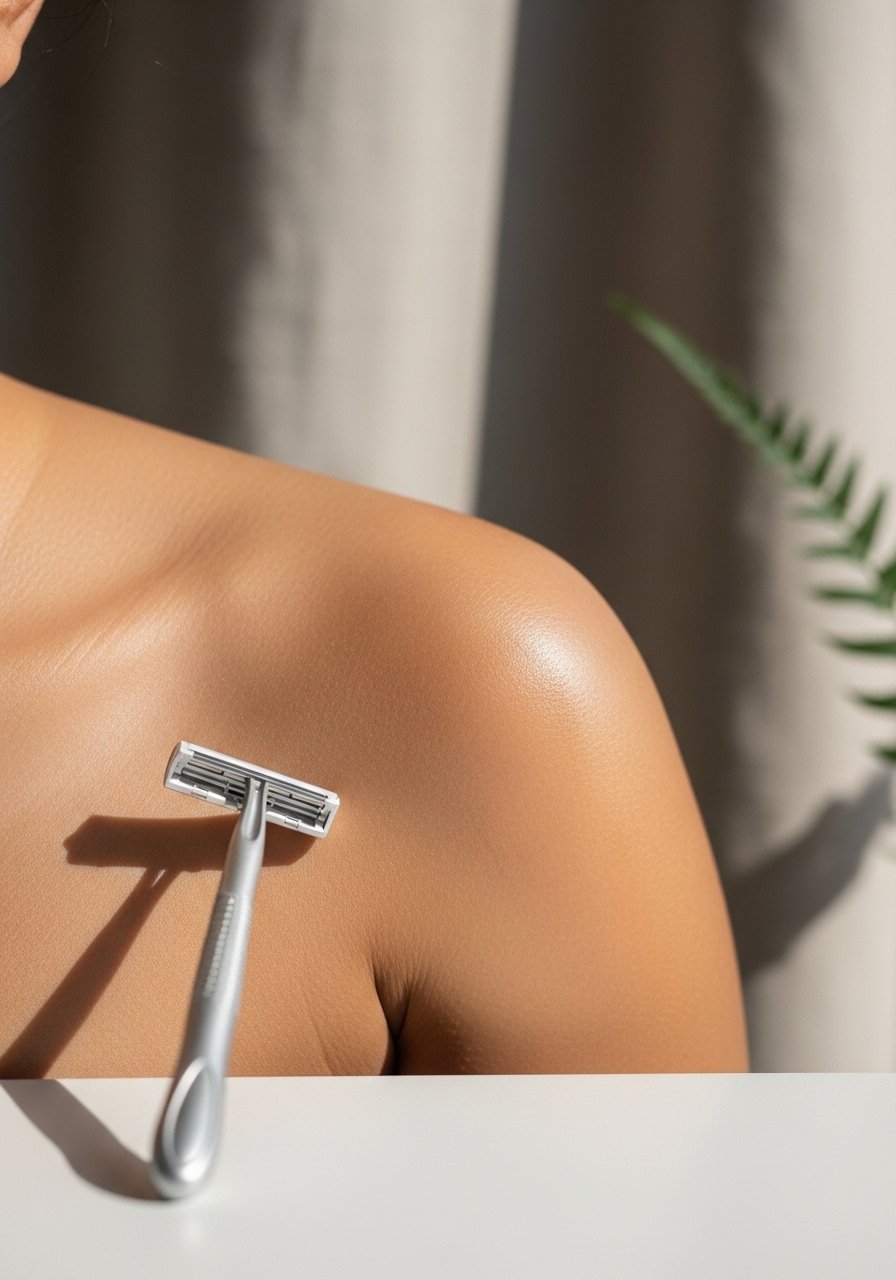
Proper prep means better line work. Two days before:
- Hydrate well and avoid sunburn.
- Shave the area gently with single-use prep razors the morning of the session.
If you want topical numbing, apply Zensa numbing cream about 45–60 minutes before your appointment, following label directions. Don’t apply lotions or heavy oils right before the consult.
Aftercare routine, healing timeline, and long-term touch-ups
Healing takes stages and realistic patience. Expect:
- Days 0–3: redness, light plasma. Keep the initial Saniderm second-skin bandage roll on for 3–5 days if used.
- Days 4–14: light peeling and itching. Wash twice daily with Dr. Bronner's unscented soap and apply a thin layer of After Inked tattoo aftercare lotion 2× daily.
- Weeks 3–8: skin texture evens; pigment settles. Avoid heavy sun exposure.
Extra tips:
- Use Hustle Butter Deluxe tattoo aftercare sparingly during later peeling for comfort.
- Keep a mineral SPF 50 sunscreen stick handy once healed.
- A dab of vitamin E oil months later can improve sheen and hydration.
Common mistakes to avoid:
- Over-moisturizing during peeling — thin layers only.
- Picking scabs — this causes patchy healed results.
- Immediate sun exposure — UV causes faster fading and patchiness.
Healing timelines vary, but most shoulder caps show stable healed results by 8–12 weeks. If lines soften or fill gaps, plan a touch-up consult at that point.
I hope this gives you the confidence to pick a shoulder cap tattoo design that flatters your shape and fits your style. Build your aftercare kit tonight—grab Saniderm, fragrance-free soap, and a good aftercare lotion—and save this guide before your consult. Pin this before your consultation! Which shoulder cap style are you leaning toward?