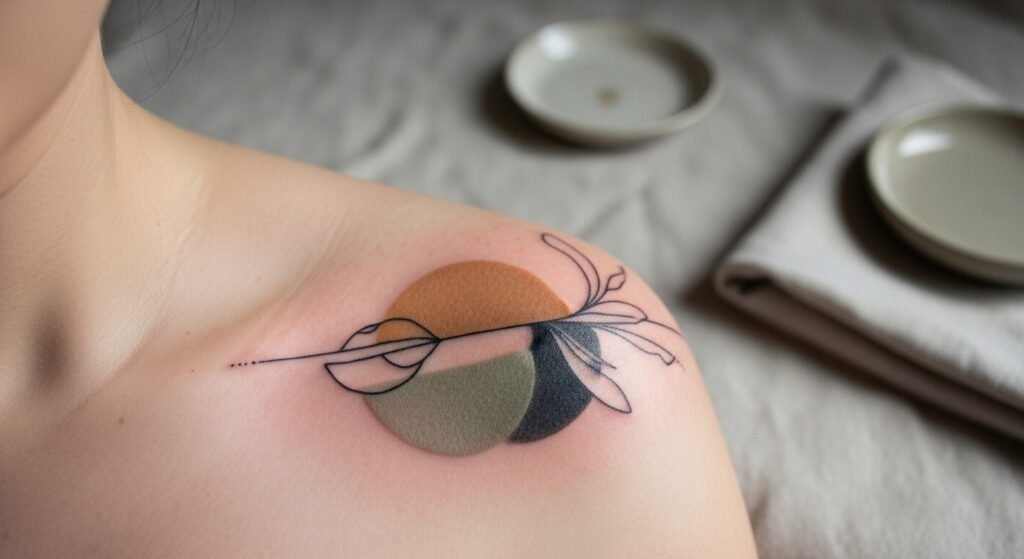
You’re in the studio waiting room, scrolling late-night inspo and half-convinced the shoulder cap idea you sketched months ago is finally real. Finding the perfect tattoo artist for your shoulder cap tattoo stops being stressful when you know what exact questions to ask and how to test placement. The shoulder cap needs an artist who understands flow, skin movement, and how to render fine line or neo-traditional shading on a curved surface.
Prep your skin with a careful shave the night before using a single-use razor and, if you’re nervous about pain, try a numbing cream applied about an hour before the session. I always keep a roll of Saniderm second-skin bandage and a bottle of Dr Bronnner's unscented soap in my aftercare kit — they make the first week far easier. This guide shows you how to research artists, test placement, communicate during consults, and follow a simple aftercare routine that protects healed results.
Research artists like a pinner: portfolios, style, and healing shots
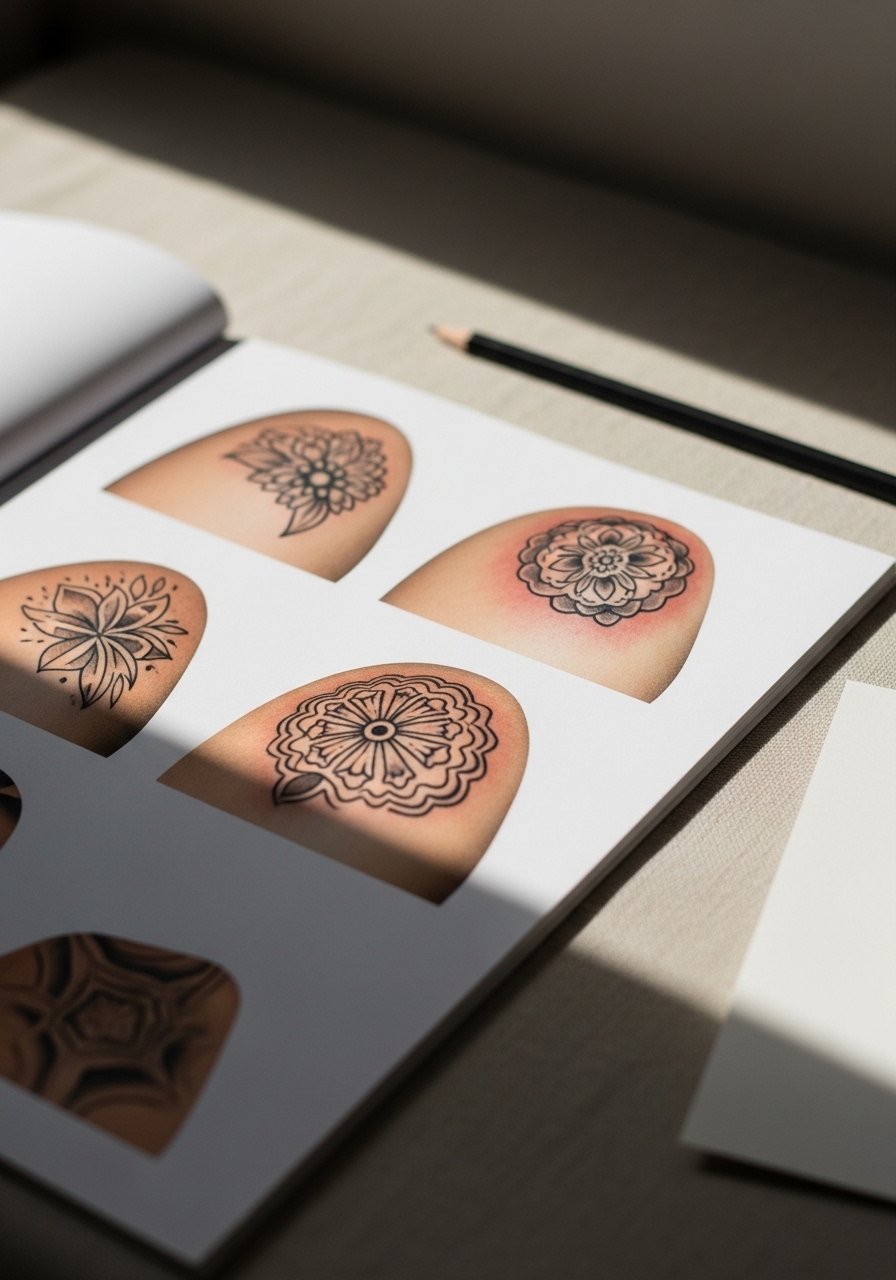
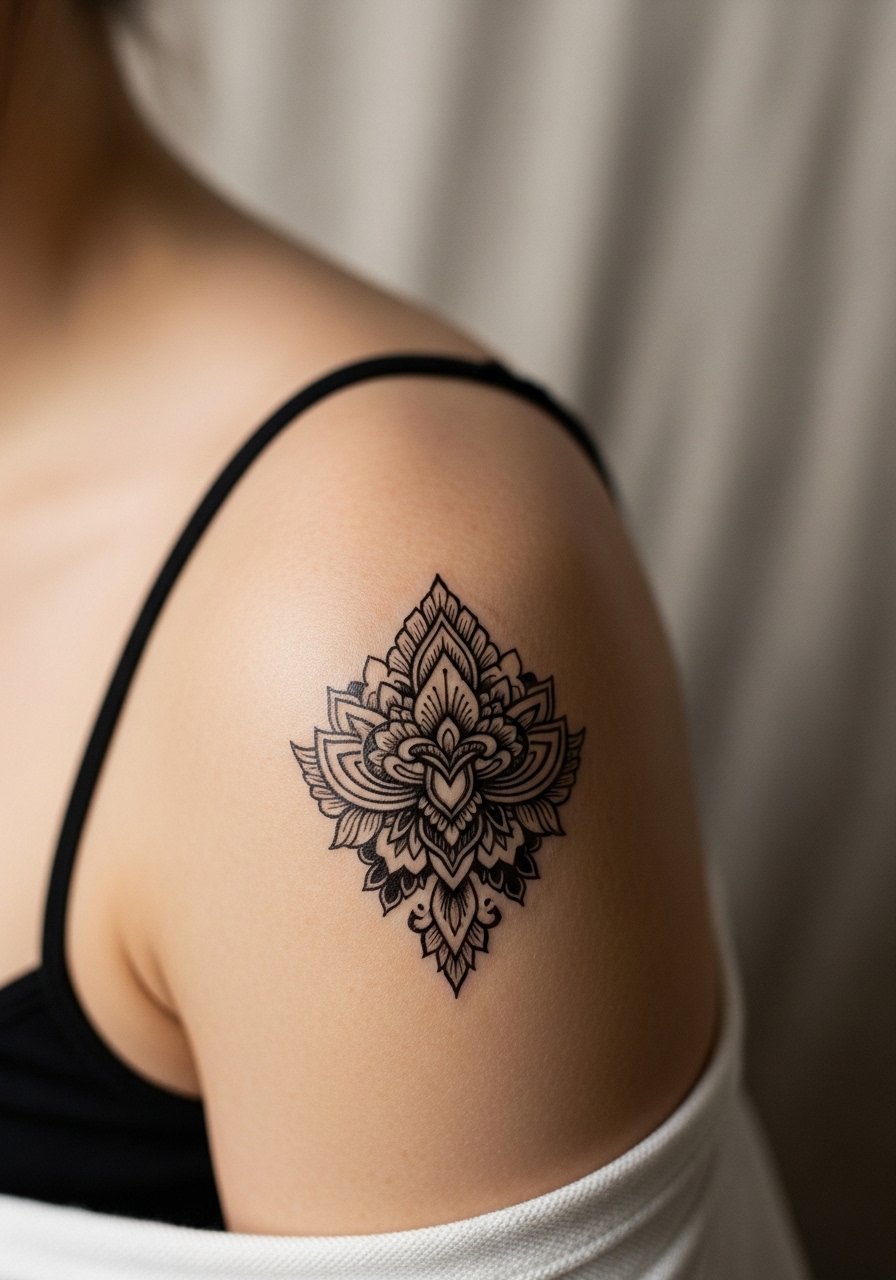
Start with style match: search portfolios for shoulder cap work, fine line, blackwork, neo-traditional, or minimalist pieces that mirror your aesthetic. Look for:
- Clear healed photos (not just fresh photos) showing crisp lines and consistent saturation.
- Consistent placement skill — do their designs sit well on the shoulder curve?
- Client comments or tagged photos showing healed results.
Reach out with 2–3 reference images, ask about their experience with shoulder caps, and request a healed-shot gallery. If you want a fine line shoulder cap, explicitly say that — fine line requires a steady hand and a machine setup artists may reserve for certain sessions.
Test placement and sizing before you commit
Never skip placement testing. Use these steps:
- Print a stencil or use an Inkbox semi-permanent tattoo kit to try a shape for 5–7 days.
- Move and lift your arm — see how the design sits when you reach or wear straps.
- Adjust scale with the artist if lines look cramped or float awkwardly.
Temporary tests save time and prevent a common mistake: designs that work flat on paper but fall off the shoulder’s curve.
What to tell your artist during consultation

Be specific, not prescriptive. Say:
- Desired style (fine line, blackwork, neo-traditional, minimalist).
- How visible you want it (hidden under straps or on full display).
- Any skin concerns or scarring on the shoulder.
Ask about needles, session length, and expected touch-up timelines (most artists recommend a touch-up at 8–12 weeks). Mention your pain tolerance and whether you’ll use a zensa numbing cream an hour before — many artists allow topical numbing for sensitive placements.
Aftercare routine for crisp healed results
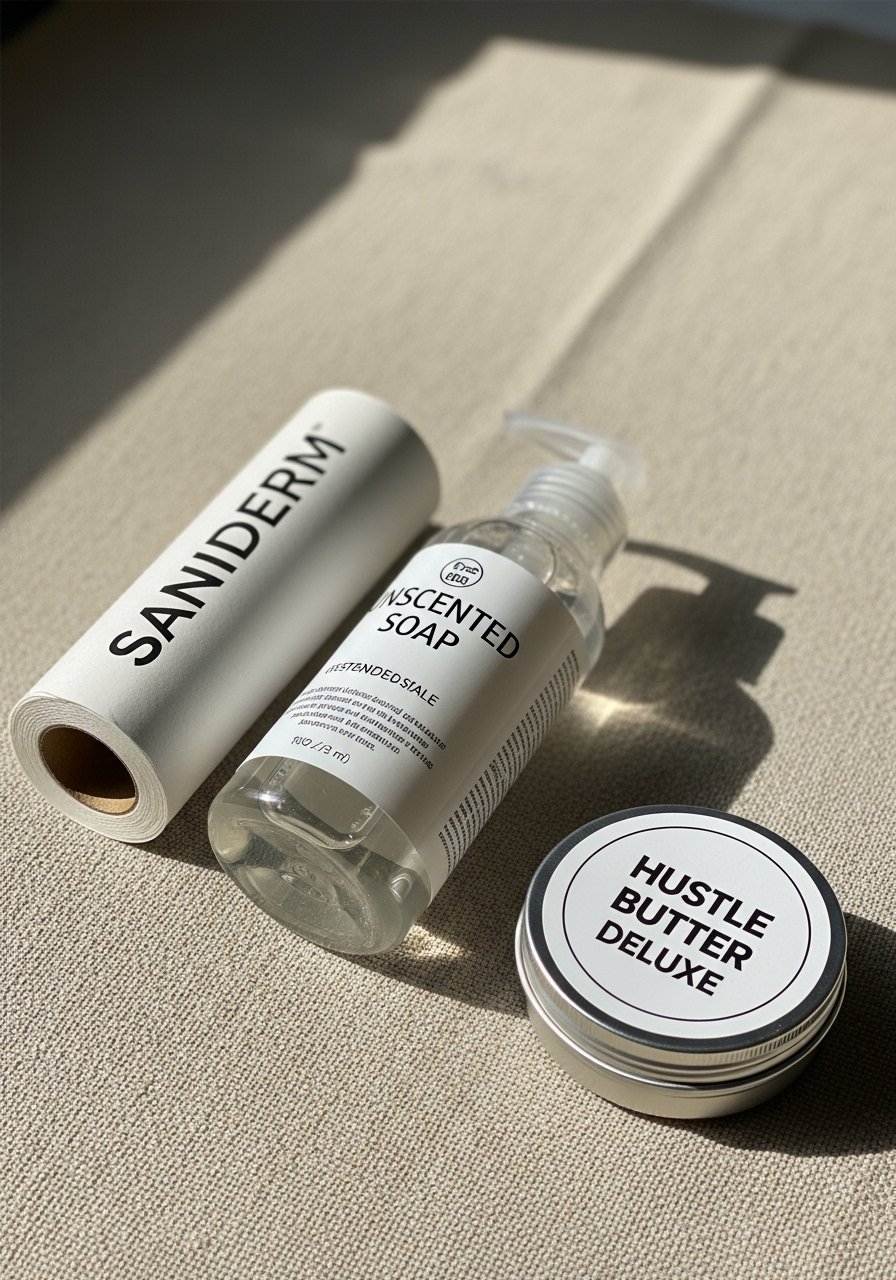
Immediately after the session follow studio advice. If your artist uses a second-skin wrap, leave it for 3–5 days unless they instruct otherwise. After removal:
- Wash gently twice a day with Dr Bronnner's unscented soap.
- Pat dry and apply a thin layer of After Inked tattoo lotion 2–3 times daily during peeling.
- For extra moisture during colder months, a small amount of Hustle Butter Deluxe can be used once the scabs have fallen.
Watch for signs of trouble: excessive redness, sharp pain, or pus. Mild plasma and light peeling between days 3–10 is normal; do not pick.
Long-term care, fading, and touch-ups
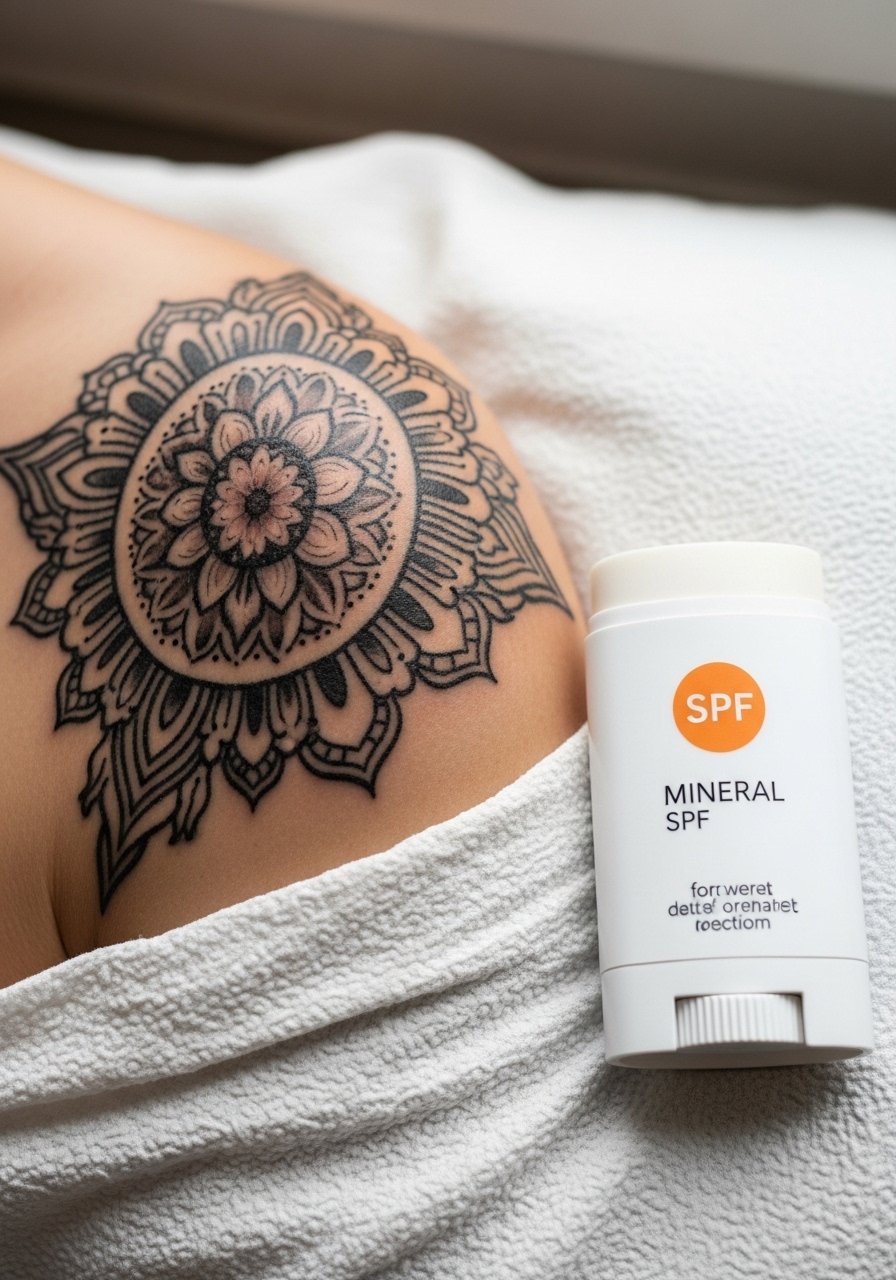
Protect your shoulder cap with daily sun protection; UV exposure fades ink faster than almost anything. Keep a travel mineral SPF stick in your bag for summer. For long-term vibrancy:
- Moisturize regularly with fragrance-free lotion or a light vitamin E oil around the area.
- Plan touch-ups after 8–12 weeks if lines softened or color healed patchy.
If you shave the area for future sessions, use a fresh single-use razor for tattoo shaving and avoid irritated skin on tattoo day. If you want to test a change of placement or size before a retouch, try a small stencil transfer using tattoo stencil transfer paper.
You’ve got the tools and the checklist — book that consult, prep your kit, and pin this guide for the night before your appointment. A clean stencil, a clear brief, and a reliable aftercare plan (I keep Saniderm second-skin bandage ready) are what turn a good session into a flawless healed result. Which shoulder cap design are you leaning toward? Drop it below and save this guide for later!