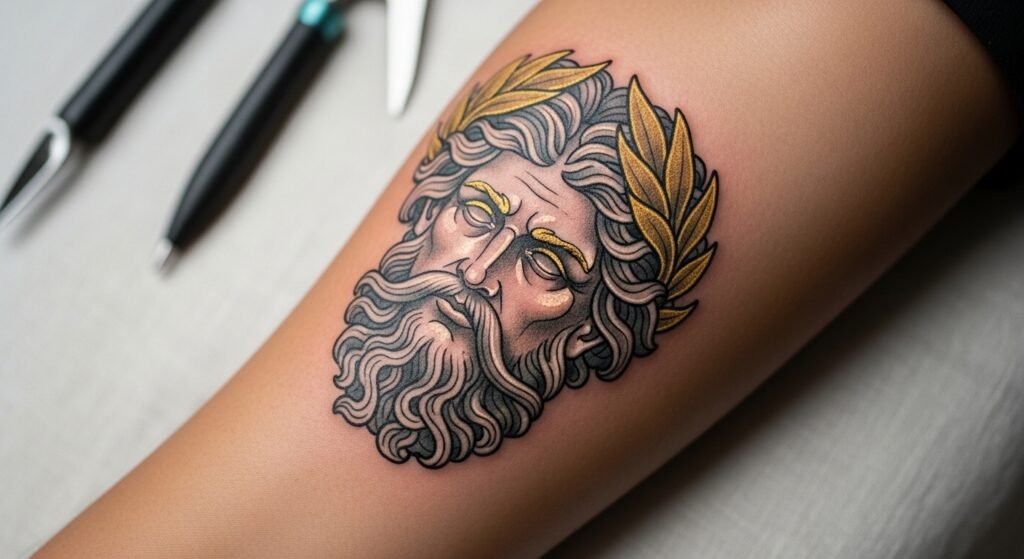
You’re scrolling at 2 a.m., saved ten Zeus tattoo design pins, and finally ready to commit. The image in your head—lightning, laurel, a stern jawline—needs to read as power on your skin. A Zeus tattoo design can be bold or refined, blackwork or fine line, and choices now shape how it ages.
Before you book, pack your aftercare kit: a roll of Saniderm for second-skin protection and an unscented tattoo aftercare lotion to use during peeling. These two simple items make the first week far less stressful.
This guide walks you through picking a Zeus tattoo design, choosing placement, what to say at consultation, pain and numbing options, and a clear aftercare routine so your Zeus tattoo design heals with authority.
Define the Zeus tattoo design and pick a style (fine line, blackwork, neo-traditional)
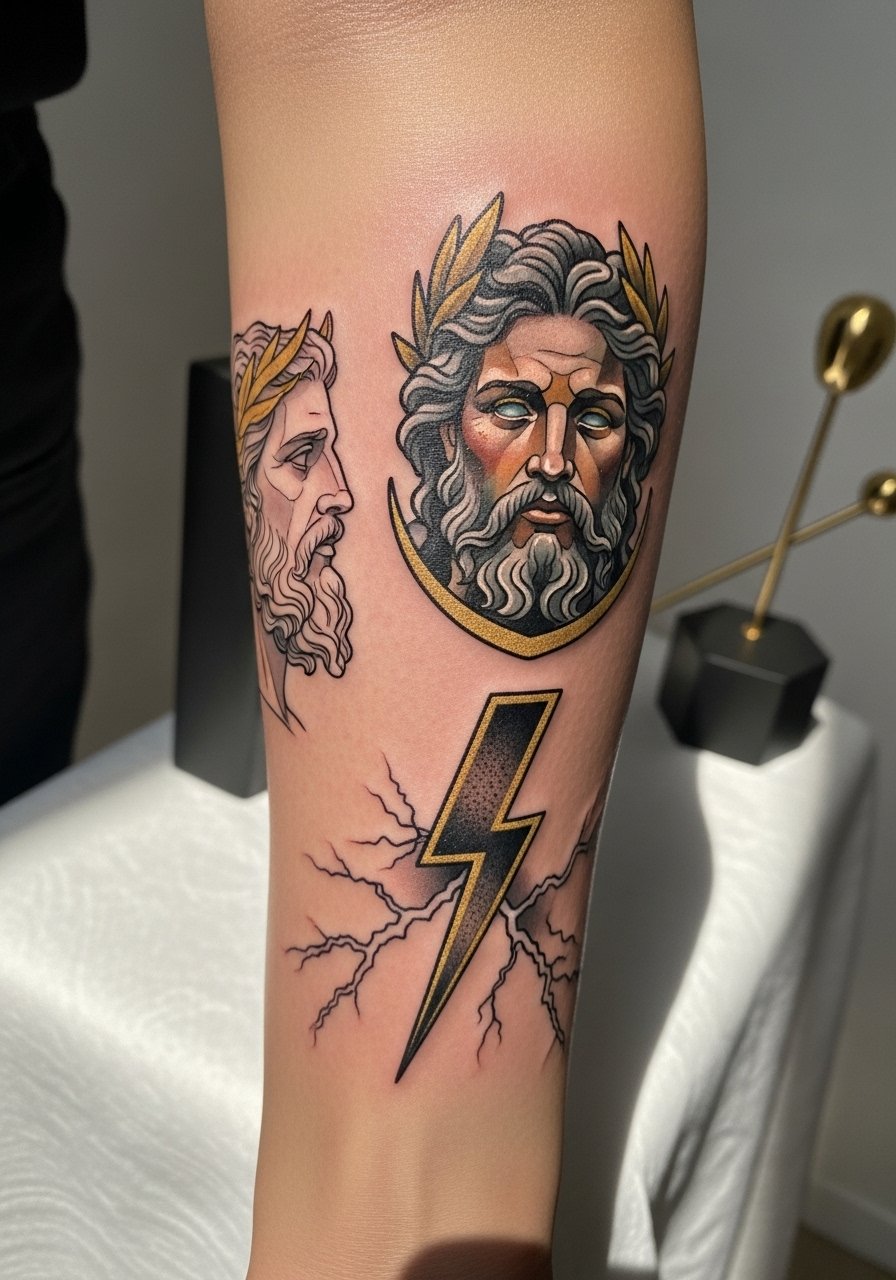
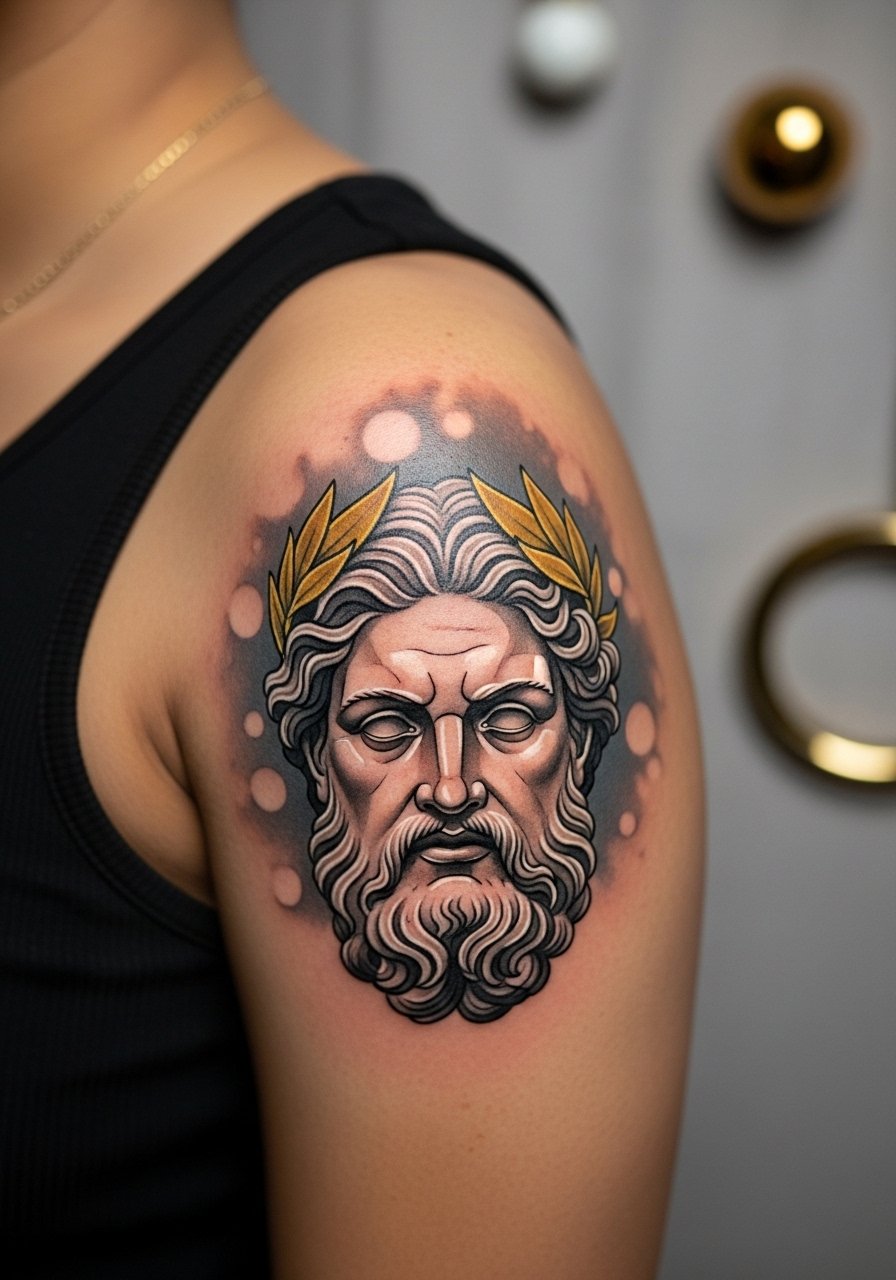
Decide what “power” means to you visually. Fine line Zeus designs focus on expression and subtle laurel crowns. Neo-traditional brings color and depth for dramatic chest or thigh pieces. Blackwork emphasizes bold silhouettes—great for back pieces or sleeves.
Tips:
- Fine line works best at smaller sizes and shows on flat skin like the inner forearm.
- Neo-traditional needs more space—chest, shoulder, or thigh—for color and shading to read.
- If you want contrast in everyday wear, blackwork on the upper arm or ribs holds up well.
If you want to test proportion, try an Inkbox semi-permanent tattoo first. Use a tattoo stencil transfer paper to place the design exactly where you’ll wear it.
Choose placement and test it (beginner placement, visibility, movement)
Placement decides how the Zeus tattoo design moves with you. Visible placements—hand, wrist, neck—age differently than covered areas. Ribs and sternum give cinematic results but amplify pain and stretching.
How to test:
- Apply a stencil or Inkbox design for a day to feel movement.
- Stomp or reach; check how the design folds with your skin.
- Scale designs up if details blur when you bend.
If you’re after a discreet but clear Zeus portrait, inner bicep or upper back are safe bets. For minimalist laurel or lightning, the wrist or clavicle reads well on healed results. Prep the area with a single-use prep razor the night before.
Prep and sit: pain management, what to tell your artist (numbing, sketch feedback)
Nerves spike before a session. Talking through sensation with your artist helps. Ribcage and sternum are commonly more painful; fleshy areas like the upper thigh or outer thigh are gentler.
What to say:
- Ask about needle configuration for fine line vs. bold work.
- Request a small test line if you’re sensitive.
If you want numbing, apply a tattoo numbing cream 45–60 minutes before the session per product instructions. Bring vibes: water, a healthy snack, and a clear reference folder. Artists appreciate when you trust their scaling advice—tiny details can blur if the piece’s size is too small.
Aftercare routine and healed results (first wash, peeling, touch-up)
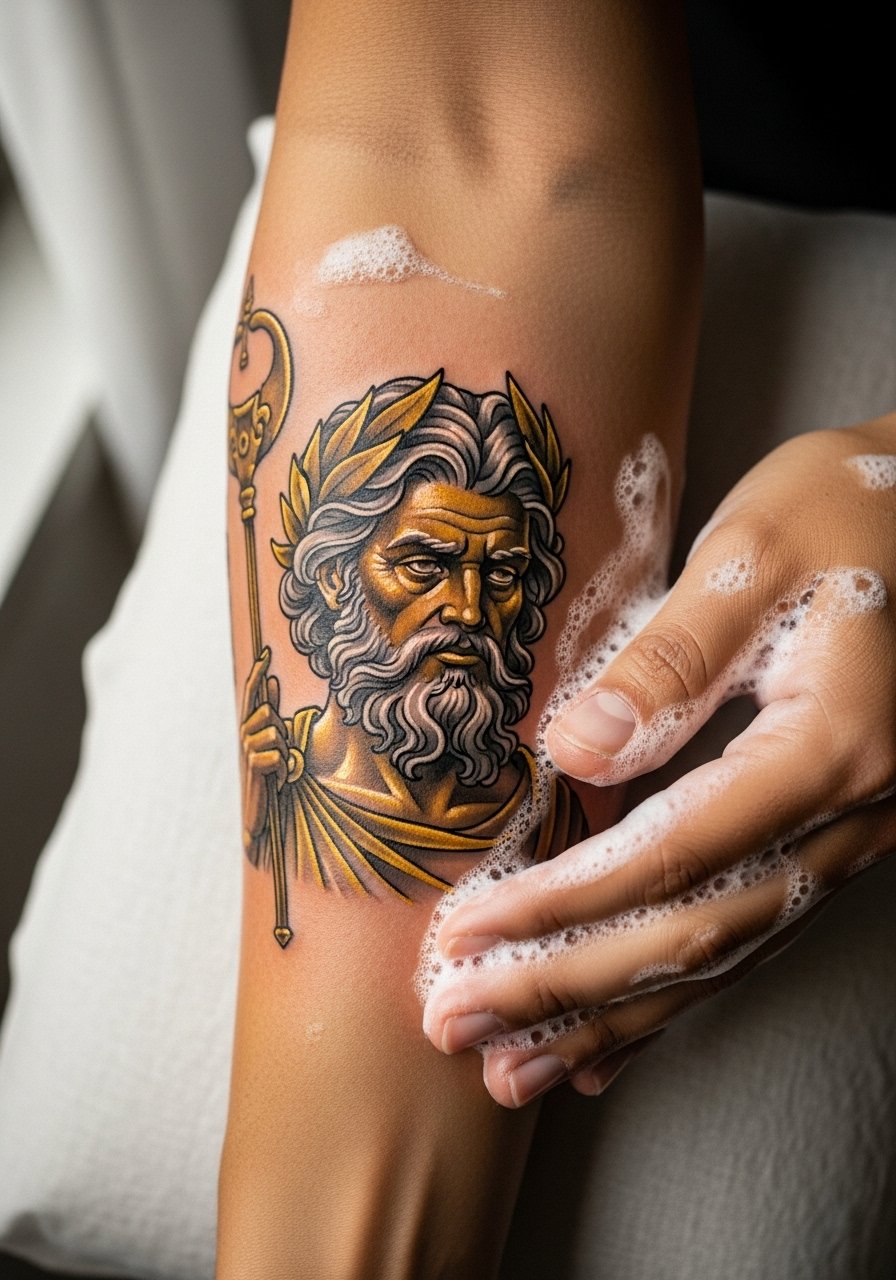
Right after the session most studios either apply a second-skin bandage or recommend waiting 2–6 hours before the first wash. If the studio uses second-skin, leave it on 3–5 days. If not, wash gently with a fragrance-free antibacterial soap and pat dry.
Step-by-step:
- Wash hands. Remove bandage when your artist says.
- Rinse tattoo with lukewarm water and a fragrance-free antibacterial soap once or twice a day.
- Apply a thin layer of Hustle Butter Deluxe or After Inked moisturizer twice daily during peeling.
Healing notes:
- First 3–7 days: redness, light plasma, peaking itch.
- Days 7–14: peeling and light scabbing—don’t pick.
- 4–8 weeks: surface looks healed; deeper settling continues.
Expect slight softening of the very finest lines; book a touch-up at 8–12 weeks if needed.
For long-term color retention, apply a mineral SPF stick on healed ink before sun exposure and use a fragrance-free body oil or vitamin E oil occasionally for hydration.
Common mistakes and quick fixes (over-moisturizing, picking, fading)
- Don’t over-moisturize: thick layers trap moisture and can cause breakouts.
- Avoid picking scabs—this causes patchy healed results.
- If second-skin lifts early, gently replace with a fresh Saniderm piece or follow artist advice.
- If itching is intense, cool compresses help; avoid antihistamine creams unless recommended.
A short, ready kit—Saniderm, fragrance-free soap, Hustle Butter, mineral SPF stick—makes the first month manageable.
You’ve mapped style, placement, pain expectations, and a realistic aftercare plan for your Zeus tattoo design. Pack your aftercare kit tonight: a roll of Saniderm, a fragrance-free soap, and a trusted lotion like After Inked. Pin this guide before your consultation, save the stencil tests, and book that appointment—what placement are you leaning toward?