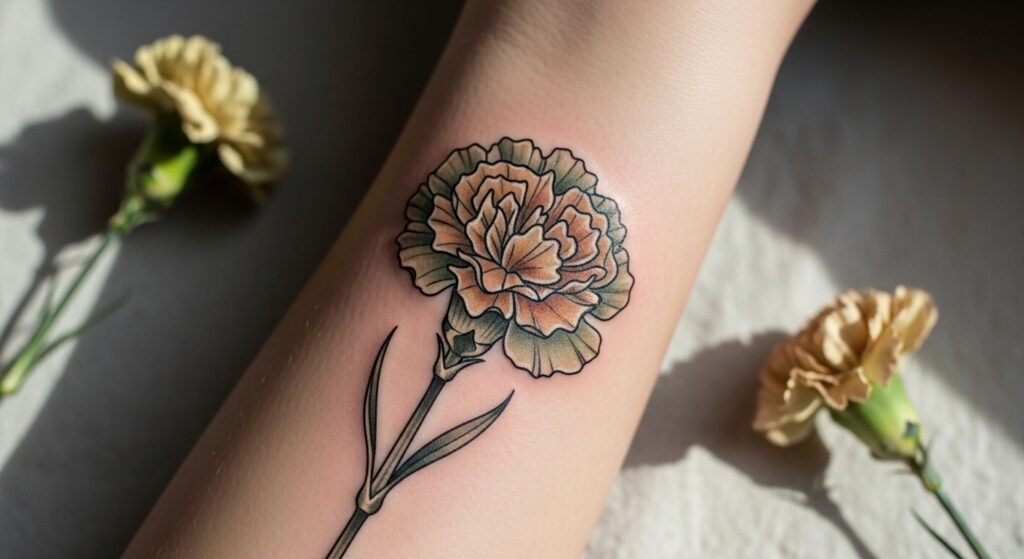
You’ve been scrolling tattoos at 2 a.m., sketching carnations on your phone, and now you’re ready to find the perfect tattoo artist for your carnation flower tattoo. That clarity feels great — but picking an artist who nails fine line detail, shadowed petals, and the placement flow matters more than you think. This guide shows you exactly how to choose an artist, test placement, prep your skin, and set a reliable aftercare routine so your carnation heals looking sharp.
I always pack a Saniderm second-skin roll in my aftercare kit and keep a tattoo numbing cream (EMLA-style) on hand for sensitive placements. Follow these steps to find the right artist and protect your ink from the first line to healed results.
How to Narrow Artists for Fine Line, Neo-Traditional, or Minimalist Carnation Work
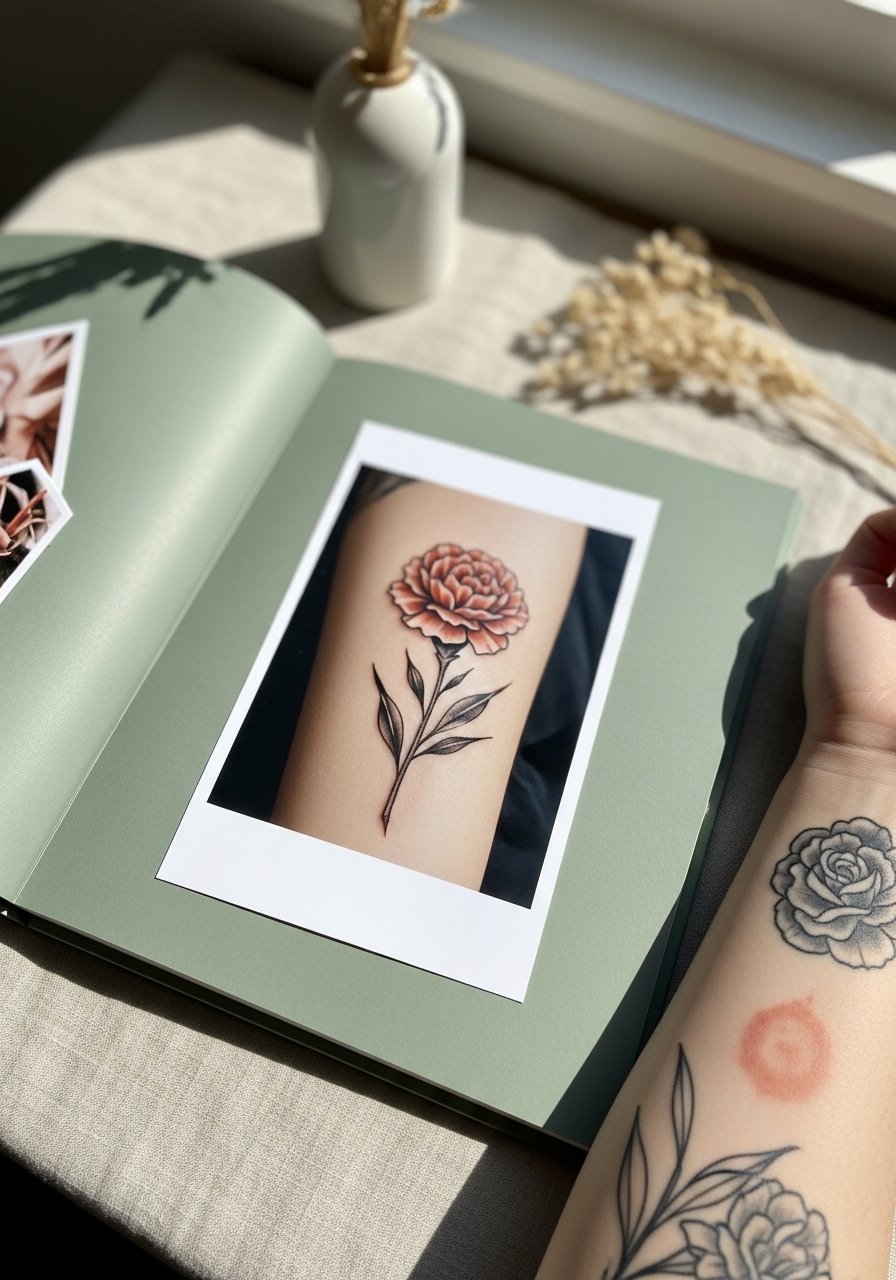
Look for portfolios that match the aesthetic you want: fine line for delicate stems, neo-traditional for bold petals and color, or minimalist for single-line carnations. Focus on:
- Line consistency: healed work photos reveal fading or blowout.
- Shading and color transitions for petals in neo-traditional examples.
- Match the artist’s healed results, not just fresh work.
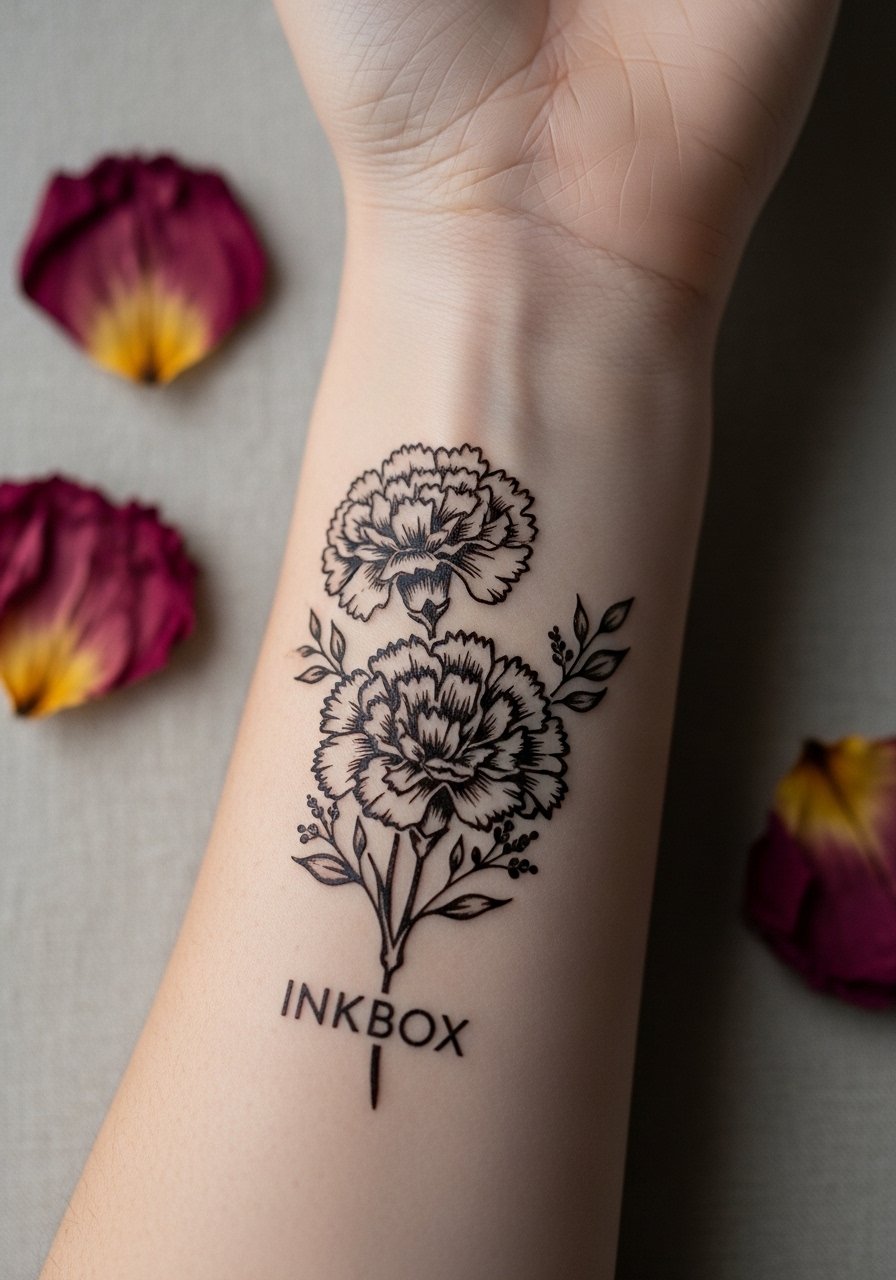
Ask for healed photos during consultation. If they don’t have healed shots, consider it a red flag. Use an Inkbox semi-permanent kit to test size and style on your skin first.
Test Placement & Consultation: Beginner Placement Tips
Bring reference images and be specific about size and flow. During the consult:
- Ask to see previous healed pieces in similar placement.
- Request a stencil and wear it home for 24 hours to test movement.
- Discuss scaling — tiny petals can blur over time on high-movement spots.
Try temporary options: an Inkbox test shows how the design sits on your body. Use stencil transfer paper for at-home testing if you’re comparing multiple placements.
Prep, Pain Management, and Realistic Healing Stages (First Week to Healed Results)
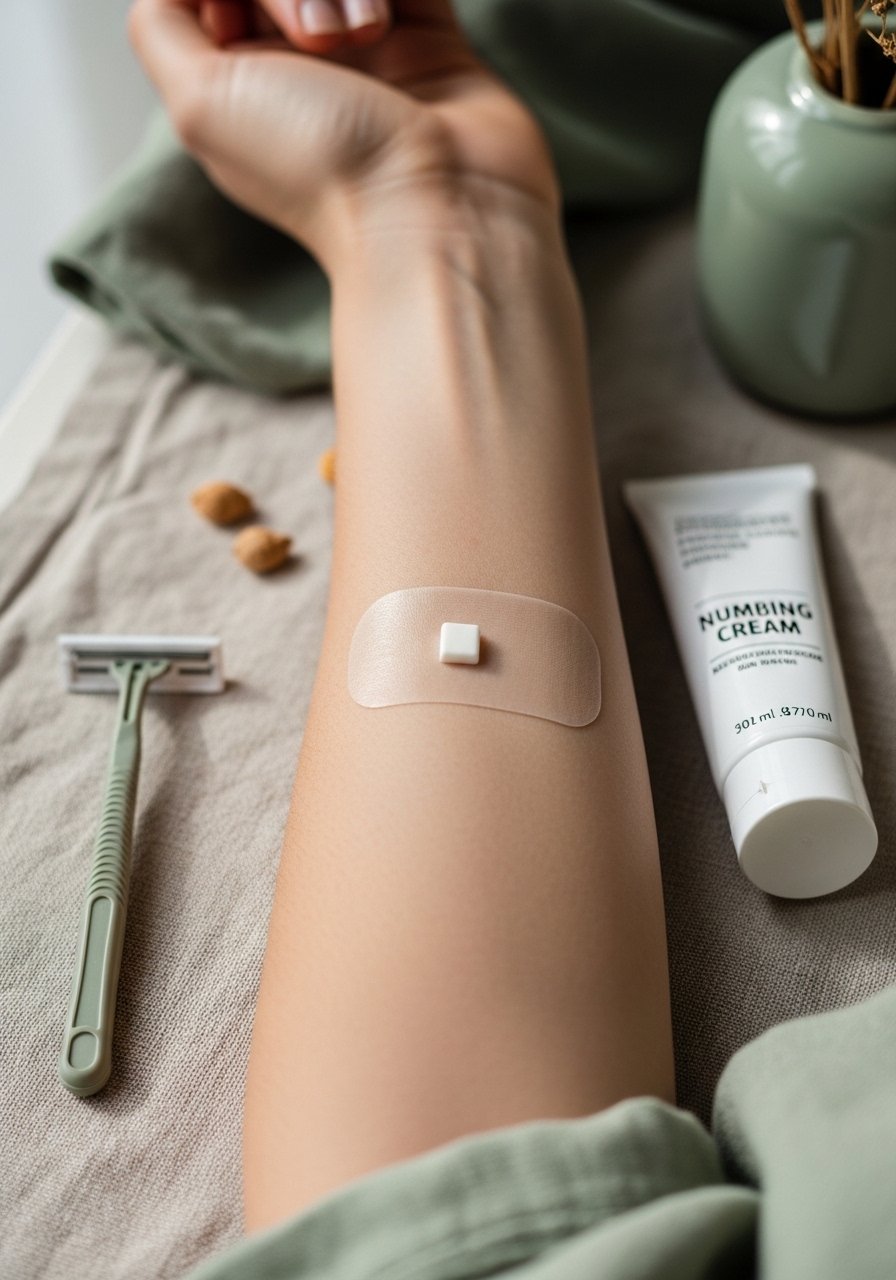
Prep your skin 24 hours before: hydrate well, avoid alcohol, and shave clean with a single-use prep razor if needed. For sensitive ribs or inner arm, apply a thin layer of numbing cream about an hour before your session per product directions.
Expect these stages:
- Days 1–3: fresh ink, light plasma, gentle tightness.
- Days 3–7: peeling and itching — do not pick.
- Weeks 2–4: surface looks clearer; deeper settling continues.
Healed results often show true color by 6–8 weeks; fine line work may need a touch-up after this window.
Aftercare Routine, Touch-Up Timing & Long-Term Care
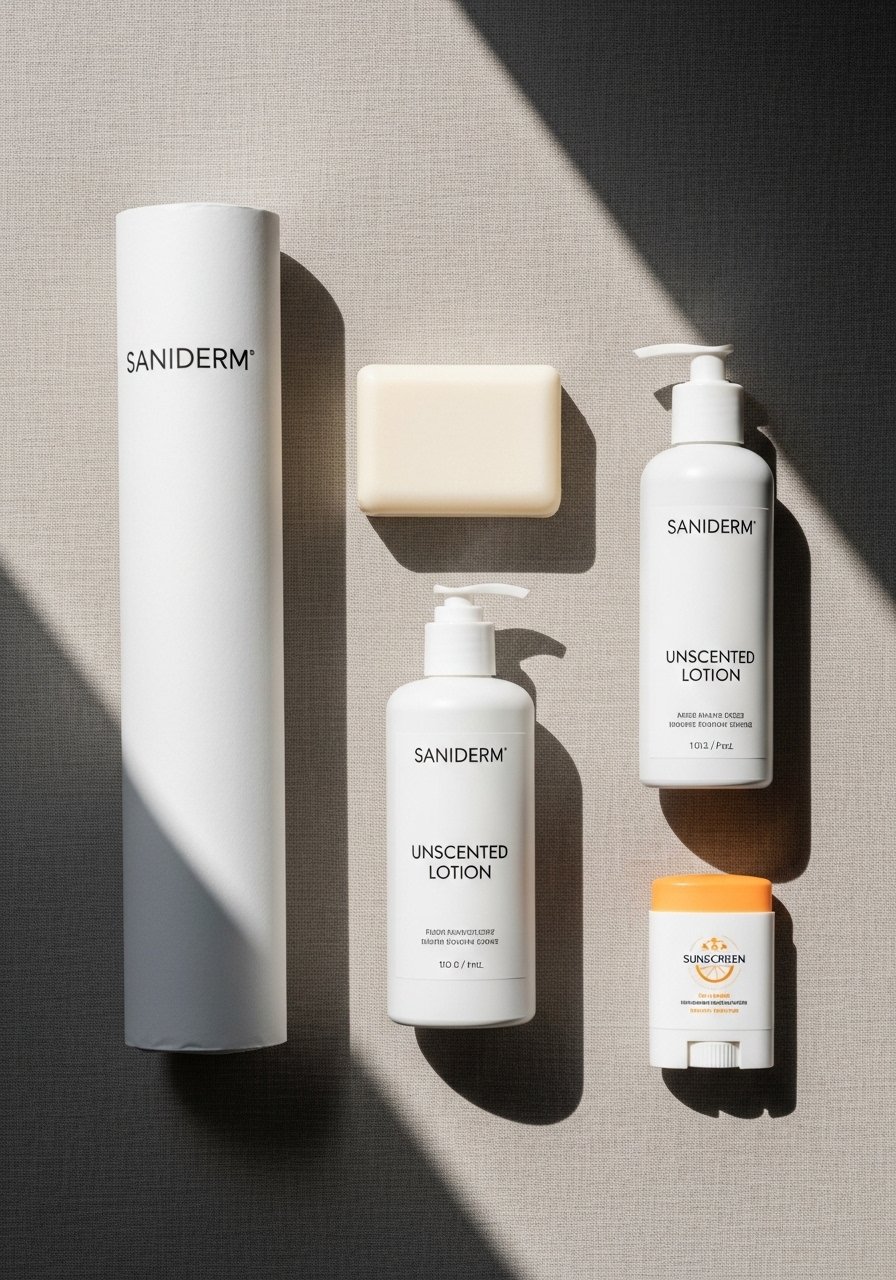
Follow a studio-approved routine. Common, effective steps:
- Immediately: follow artist’s wrap instructions; a Saniderm second-skin roll left 3–5 days helps barrier healing.
- First two weeks: wash twice daily with fragrance-free antibacterial soap, pat dry, then apply a pea-sized amount of unscented tattoo aftercare lotion twice daily during peeling.
- Long-term: use a mineral SPF 50 stick on healed ink whenever exposed to sun to avoid fading.
Troubleshooting:
- Excess plasma soaking the bandage? Gently remove and reapply fresh Saniderm.
- Patchy healing? Keep moisturizing and avoid picking; schedule a touch-up after 8 weeks if needed.
For dry scaly flakes, a thin layer of Hustle Butter Deluxe post-peeling can soothe and improve texture.
You’ll also want a calming balm for long-term conditioning — try a fragrance-free body oil or vitamin E oil for occasional maintenance.
Final thoughts: trust healed photos, test placement with a temporary option, and prep both your body and aftercare kit ahead of time. Building that kit — Saniderm, fragrance-free soap, unscented lotion — removes post-session panic and protects your carnation’s healed results. Pin this before your consultation and save it for the night before your appointment. Which placement are you leaning toward for your carnation? Drop it below!