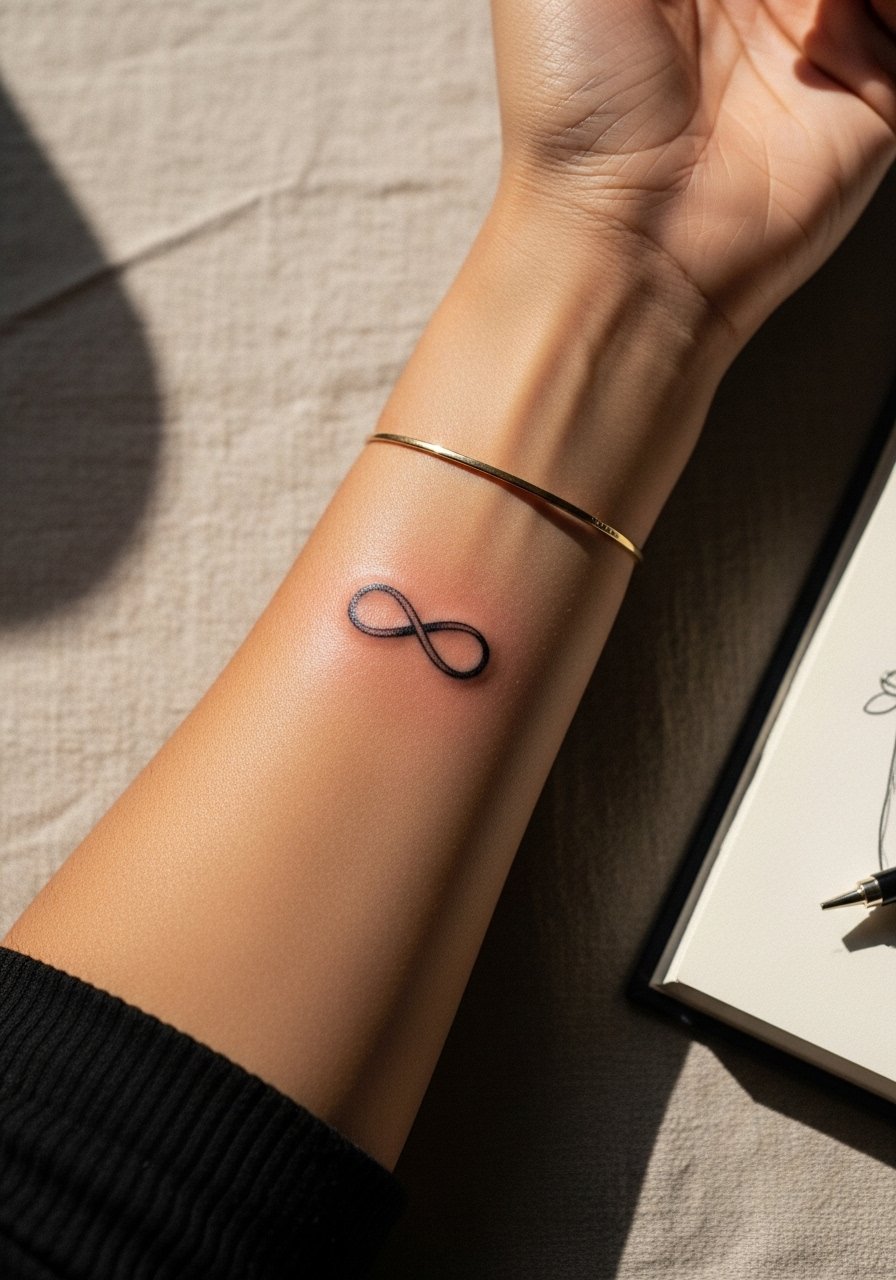
You’re scrolling inspo at 2 a.m., scrolling past tiny infinity tattoos that feel close to what you want, but somehow not quite yours. Choosing an infinity tattoo design that perfectly captures your personal story and deepest meaning isn’t about copying a trend—it's about narrowing symbols, placement, and style until it reads like you.
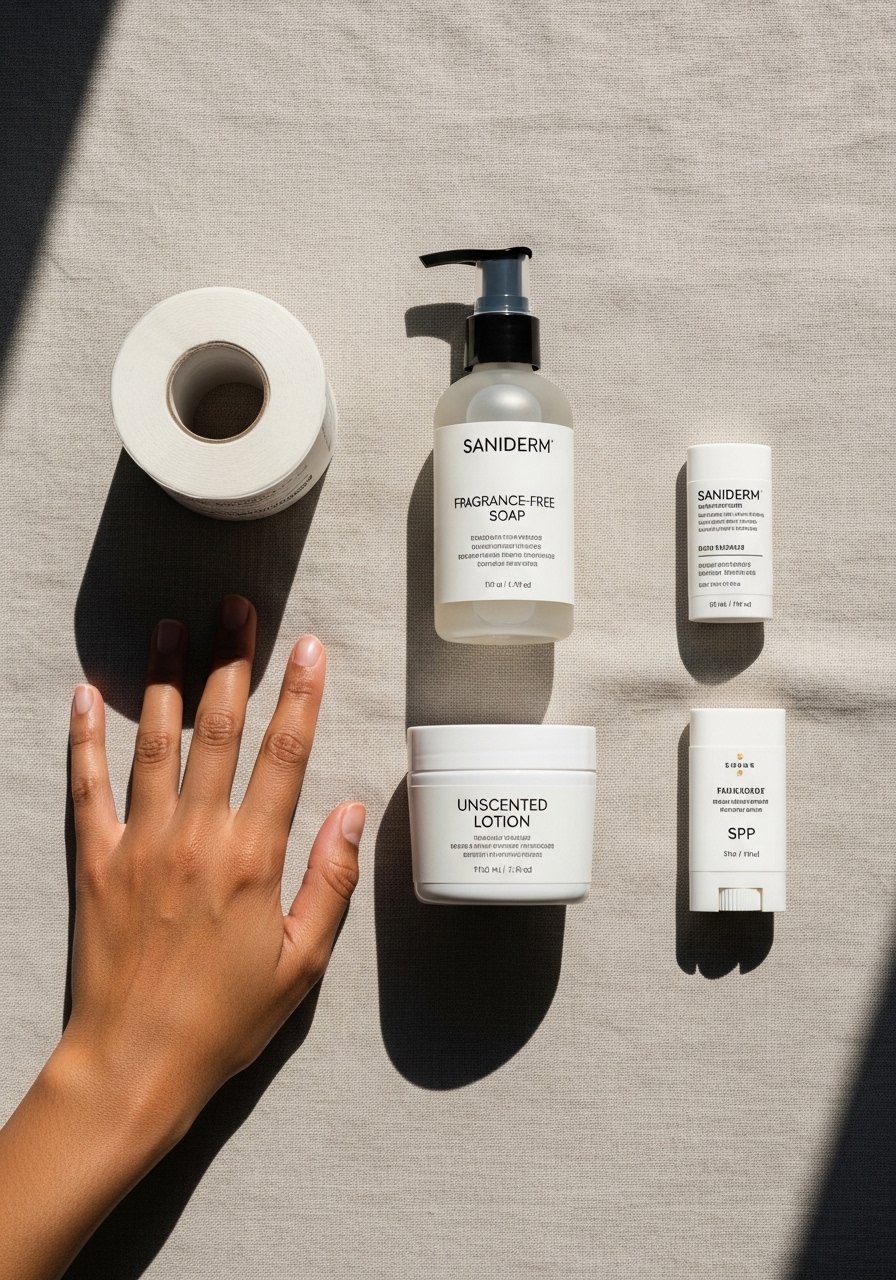
Start by testing placement with an Inkbox semi-permanent, and prep your skin with a single-use razor so the stencil sits flat. I keep a roll of Saniderm in the aftercare kit and a thin tattoo numbing cream for sensitive placements. This guide walks you through design choices, stencil testing, beginner placement tips, and a simple aftercare routine.
Start with meaning: shape the story behind your infinity tattoo design (fine line, minimalist)
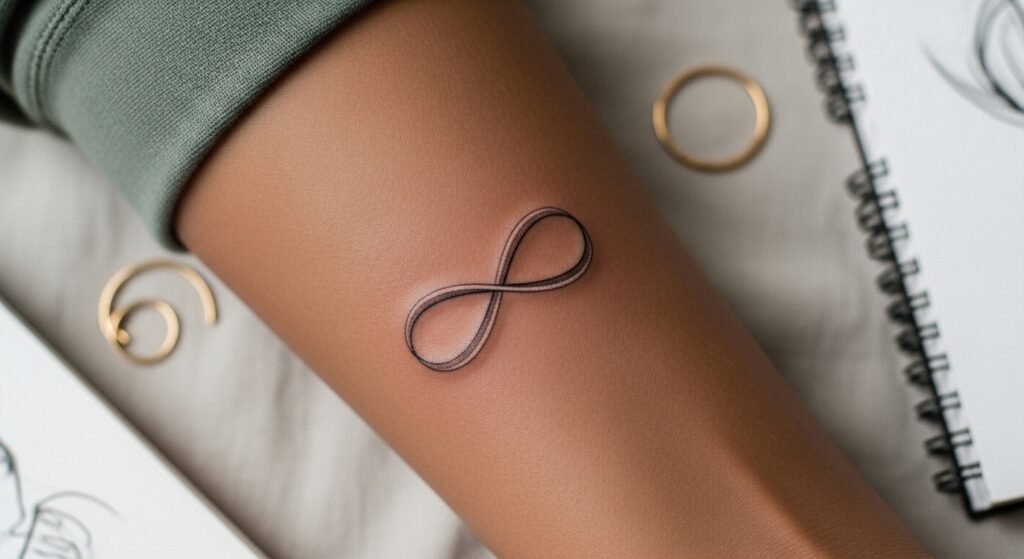
Think about what "infinity" means to you—continuity, memory, duality—and which motifs fit that emotion. Fine line and minimalist treatments read best small, while blackwork or neo-traditional fills suit larger scales.
- List visual anchors: initials, tiny date numerals, an integrated symbol (wave, mountain, heartbeat).
- Ask: will this be a delicate fine-line piece, or a bold blackwork lock of meaning?
- If you want layered symbolism, sketch 3 versions: pure infinity, infinity + icon, infinity + word.
When planning size, remember: very thin lines can blur over years. If you’re leaning minimalist, tell your artist you want slightly heavier line weight for longevity.
Test and refine the design (stencil tricks, Inkbox temporary tattoos)
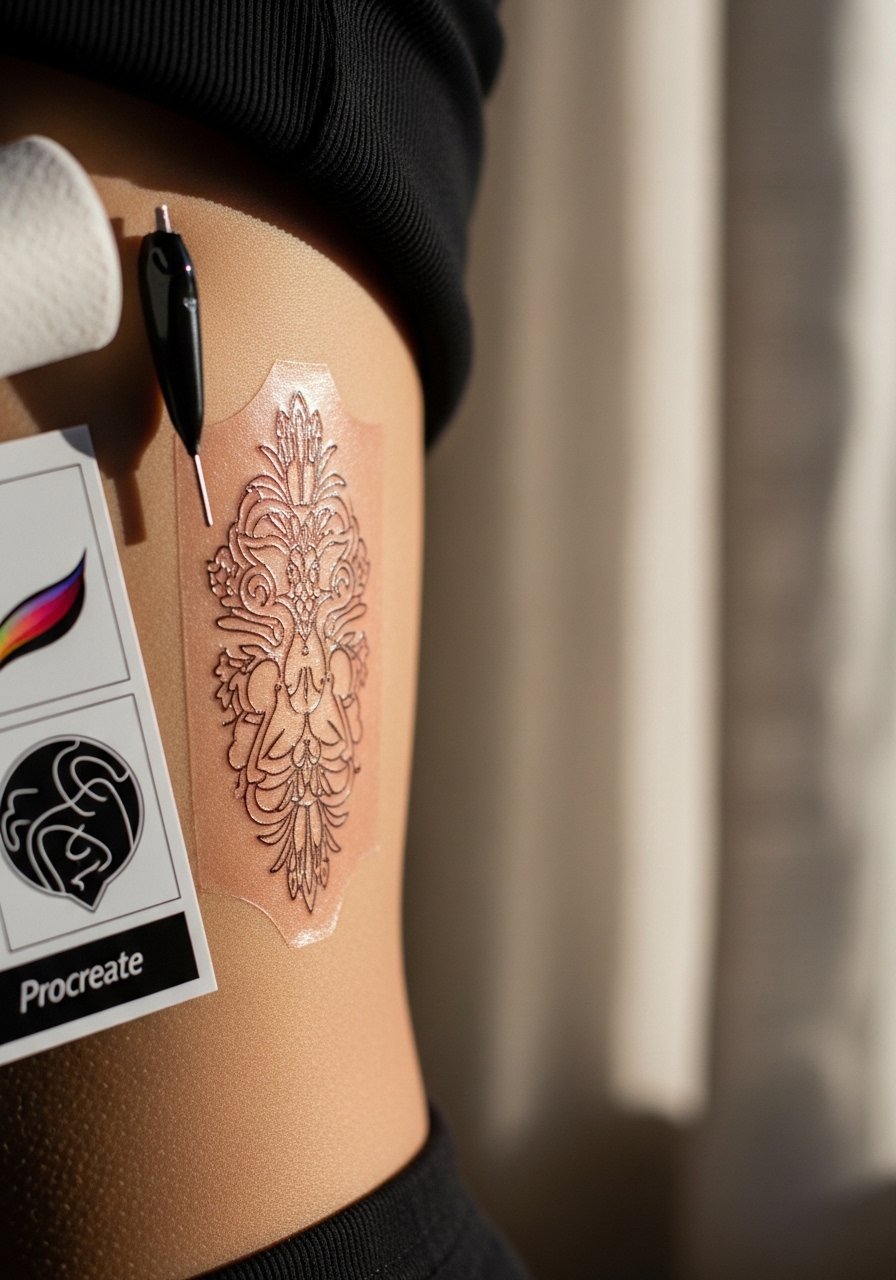
Never commit without testing. Use a stencil transfer or an Inkbox semi-permanent tattoo kit to live with the scale and flow for a few days.
- Print your design to scale.
- Apply stencil to skin, check movement and clothing friction for 24–72 hours.
- If pain or rubbing is worse than expected, scale or move it.
For sensitive areas (ribs, inner thigh), a thin layer of numbing cream applied 45–60 minutes before your appointment can make testing match the real session.
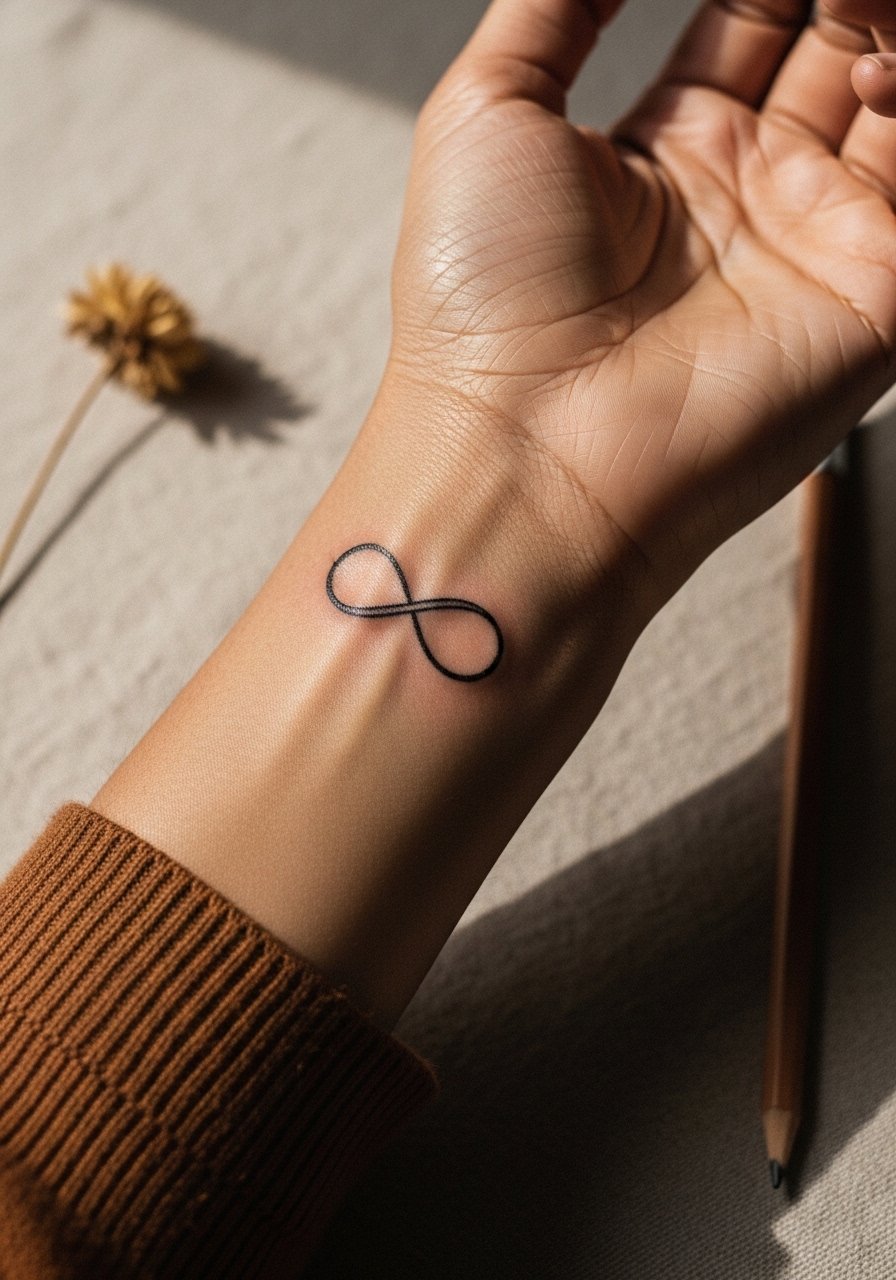
Pick placement with pain, healing, and beginner placement in mind (healed results, touch-up)
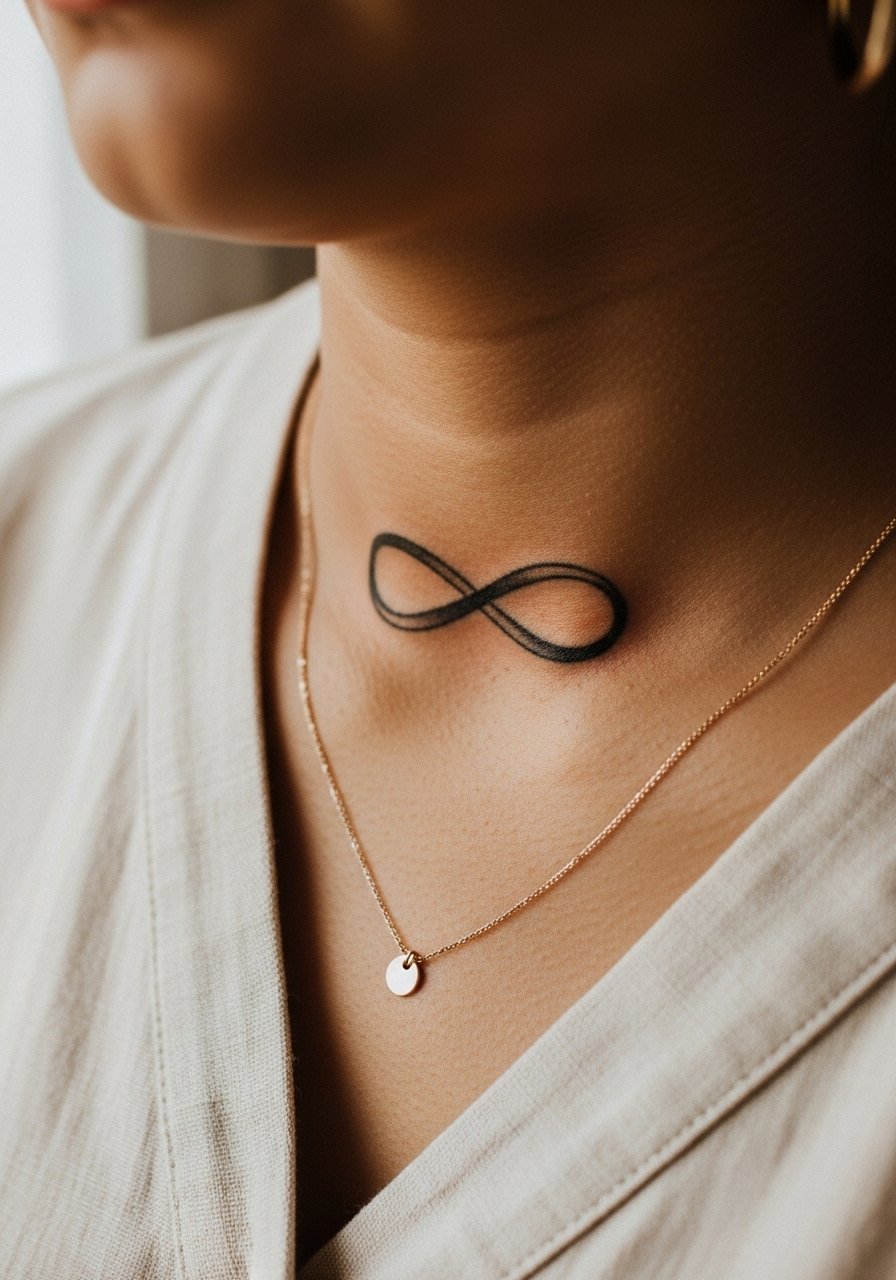
Placement affects visibility and healing. Beginner-friendly spots: outer forearm, collarbone, ankle. Pain-prone spots: ribs, sternum, elbow crease. Consider daily sun exposure—areas that see sun need routine SPF once healed.
- Healing benchmarks: expect peeling & scabbing in days 4–10, and full epidermal healing by 4–6 weeks. Touch-ups are common at 8–12 weeks.
- If you want to minimize touch-ups, choose fleshier areas with less friction and tell your artist you want slightly bolder lines.
- Keep a mineral SPF stick in your bag for healed ink exposure.
Prep, artist selection, and aftercare routine (first week, aftercare routine)
Finding the right artist: follow portfolios, look for healed results that match your style (fine line, blackwork, neo-traditional). Ask about needle size, ink dilution, and their touch-up policy.
Aftercare, practical steps:
- Leave the studio wrap on the time your artist recommends (commonly 2–24 hours). If using Saniderm, you can leave a second-skin for 3–5 days.
- First wash: gentle, lukewarm water and a fragrance-free antibacterial soap twice daily—try Dr. Bronner's unscented castile.
- Moisturize a thin layer of unscented tattoo aftercare lotion 2–3 times a day during peeling.
Troubleshooting:
- Excess plasma: blot, don't re-bandage unless recommended.
- Itching: light patting and a tiny amount of Hustle Butter Deluxe once the skin is closed.
- Long-term: use a tattoo brightening balm or vitamin E oil sparingly after full healing.
You’ll likely want a touch-up—plan it after 8–12 weeks if any lines look patchy. Good prep and honest artist communication cut down the need for fixes.
Building your final infinity tattoo design is a balance of story, scale, and real-world wear. Test placement, protect your skin during healing, and pick an artist who shows healed examples in your chosen style. Pack your aftercare kit with Saniderm, fragrance-free soap, and a trusted lotion before you book.
Pin this before your consultation and save the stencil you tried. Which placement are you leaning toward—wrist, collarbone, or ribs? Drop it below!