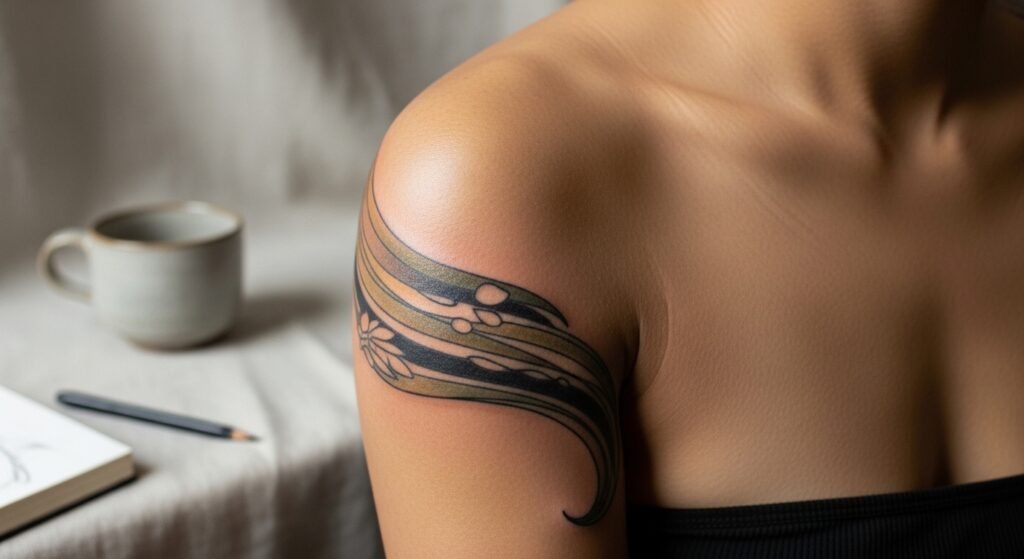
You’re scrolling at 2 a.m., staring at sleeve mockups and wondering how to extend a shoulder cap tattoo into a full sleeve without it looking pasted-on. You want flow, consistent line weight, and a sleeve that looks like it grew from your shoulder cap—not like two separate projects glued together.
The easiest way to get there is planning the flow, testing placement, and prepping your aftercare kit ahead of time. I keep a roll of Saniderm in my bag for multi-day protection and a tube of Zensa numbing cream for the sensitive inner-arm passes. This guide walks you through placement, session strategy, and a practical aftercare routine so you can confidently extend a shoulder cap tattoo into a full sleeve.
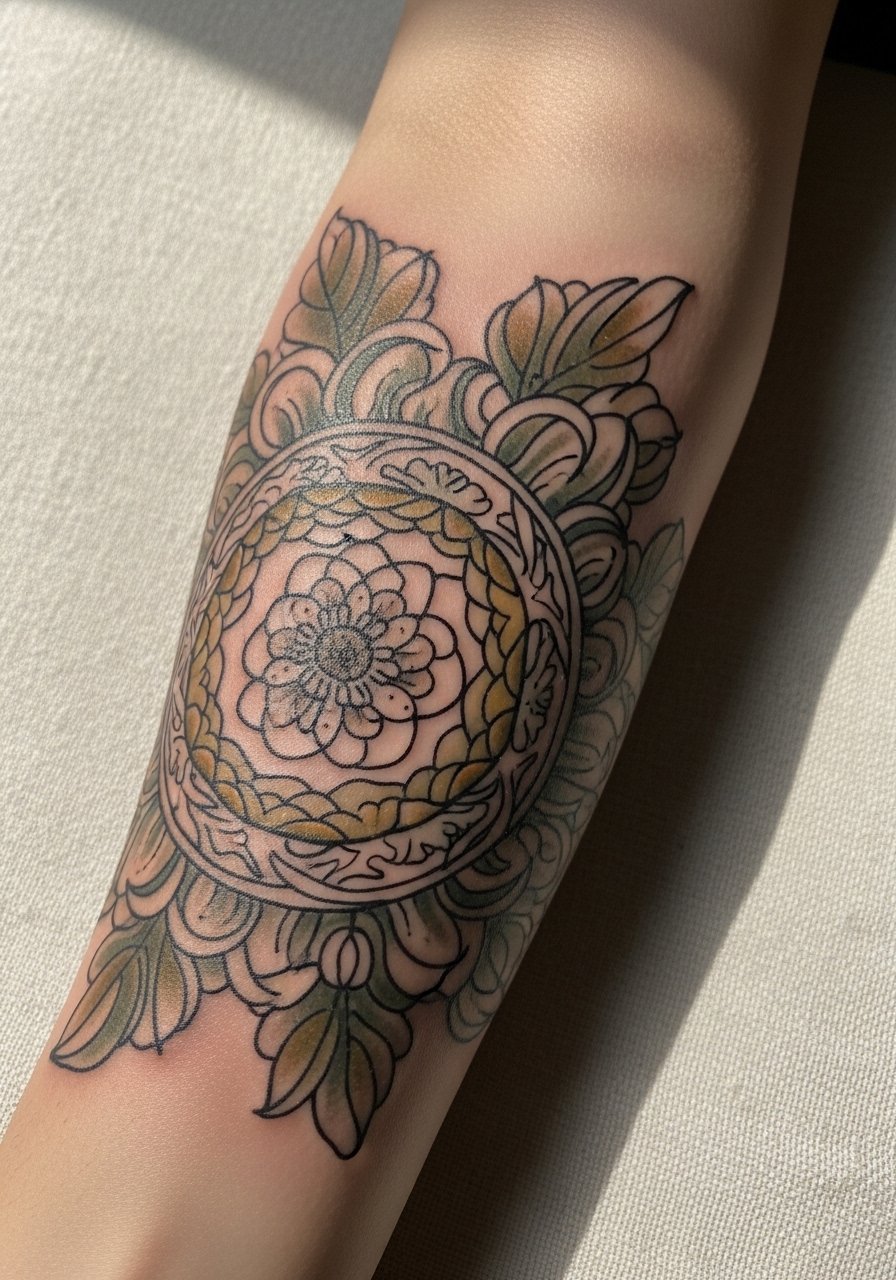
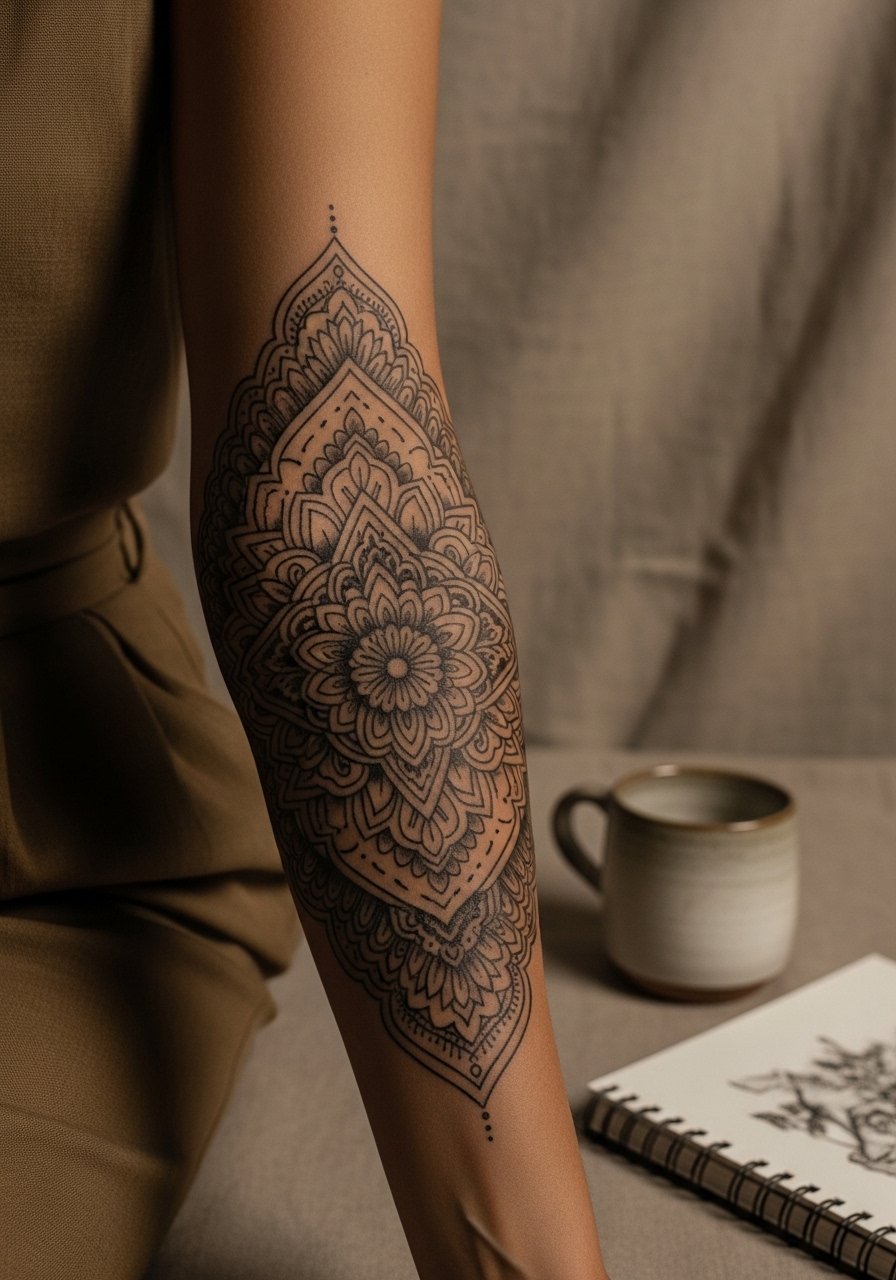
Map the flow and choose a cohesive style (fine line, blackwork, neo-traditional)
Start by deciding how the sleeve will "read" from a distance. If your shoulder cap is neo-traditional, keep scale and weight similar—fine line additions can feel lost next to bold color blocks. When planning:
- Sketch flow lines that wrap around the arm to connect the cap to forearm pieces.
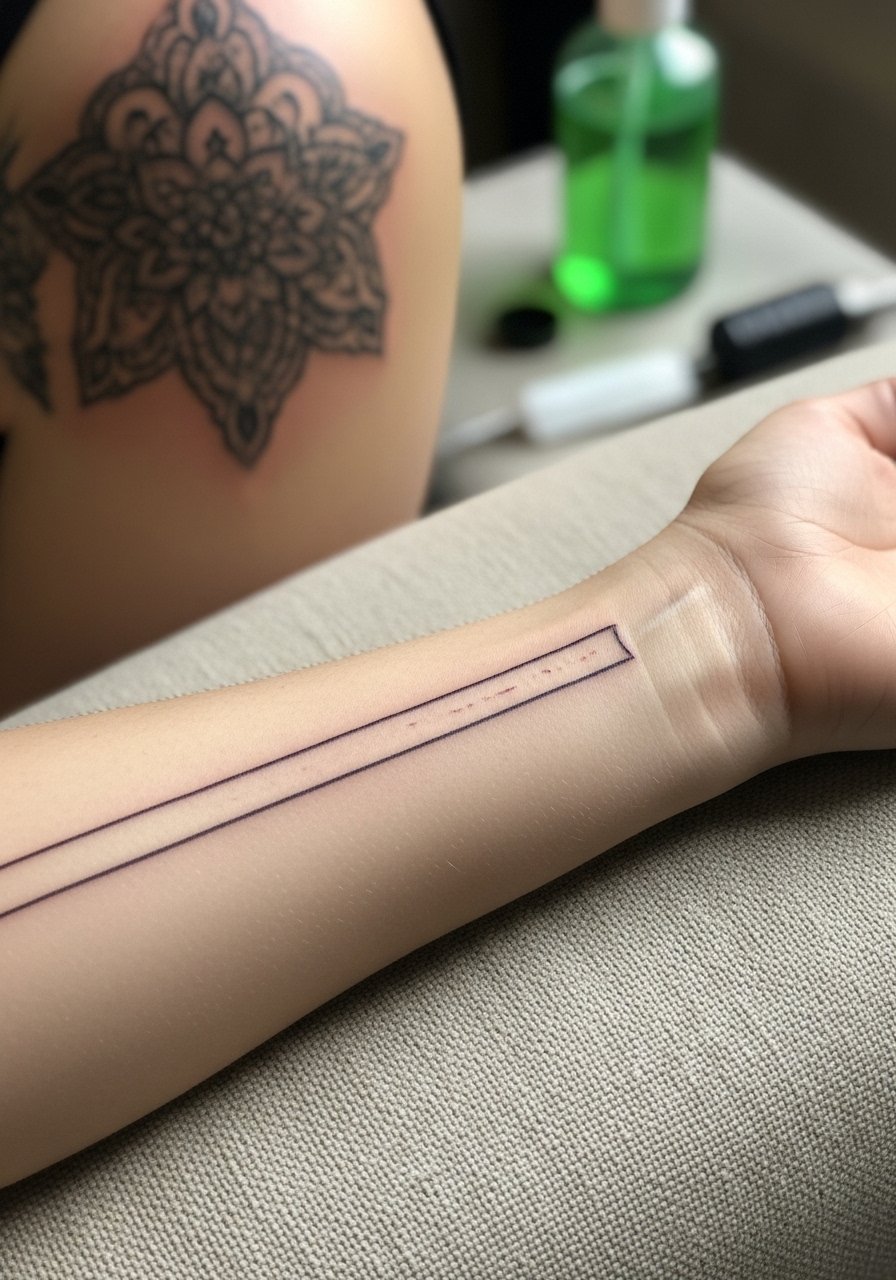
- Test a temporary placement with an Inkbox semi-permanent tattoo to live with the composition for a few days.
- Use tattoo stencil transfer paper to mock up multiple sizes before you commit.
Aim for consistent line weight and color saturation across sessions so the extended sleeve looks intentional.
Work with an artist and test placement beforehand
Find an artist who specializes in the aesthetic you chose. Bring reference books or a sketchbook journal and relevant tattoo flash books. During consult:
- Ask how they plan to transition motifs and where seams will sit.
- Discuss session length—most artists prefer 3–6 sessions for a shoulder-to-forearm expansion.
- Confirm touch-up windows; many shops schedule a retouch at 8–12 weeks after the last session.
Testing placement and trusting the artist's wrap-and-scale suggestions stops awkward overlaps and future touch-ups.
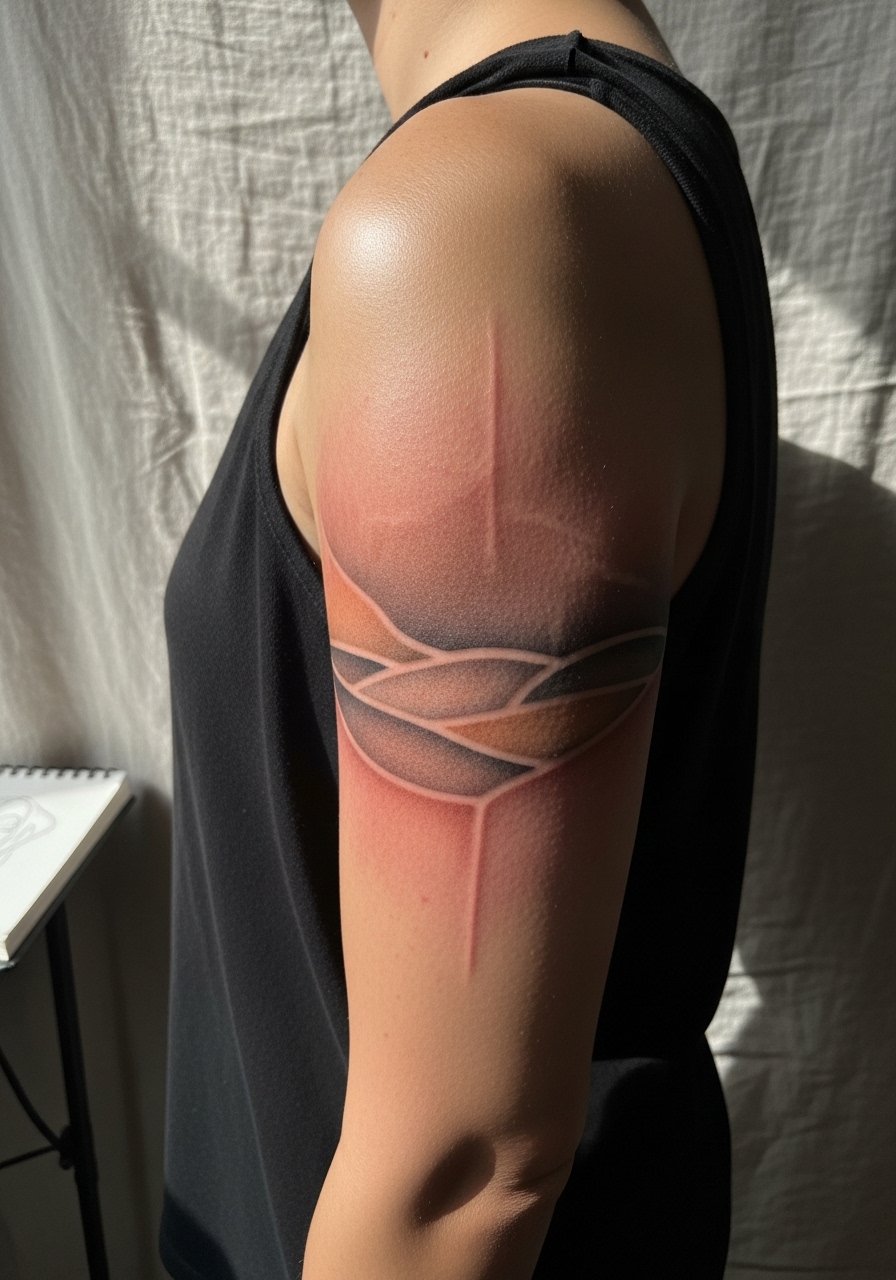
Session strategy, pain management, and the first week after each sitting
Sessions vary by placement—outer shoulder is lower pain, inner arm and elbow spikes are higher. For comfort:
- Apply a numbing cream like Zensa about 1 hour before the chair for sensitive passes.
- Shave prep areas with a single-use prep razor right before your appointment.
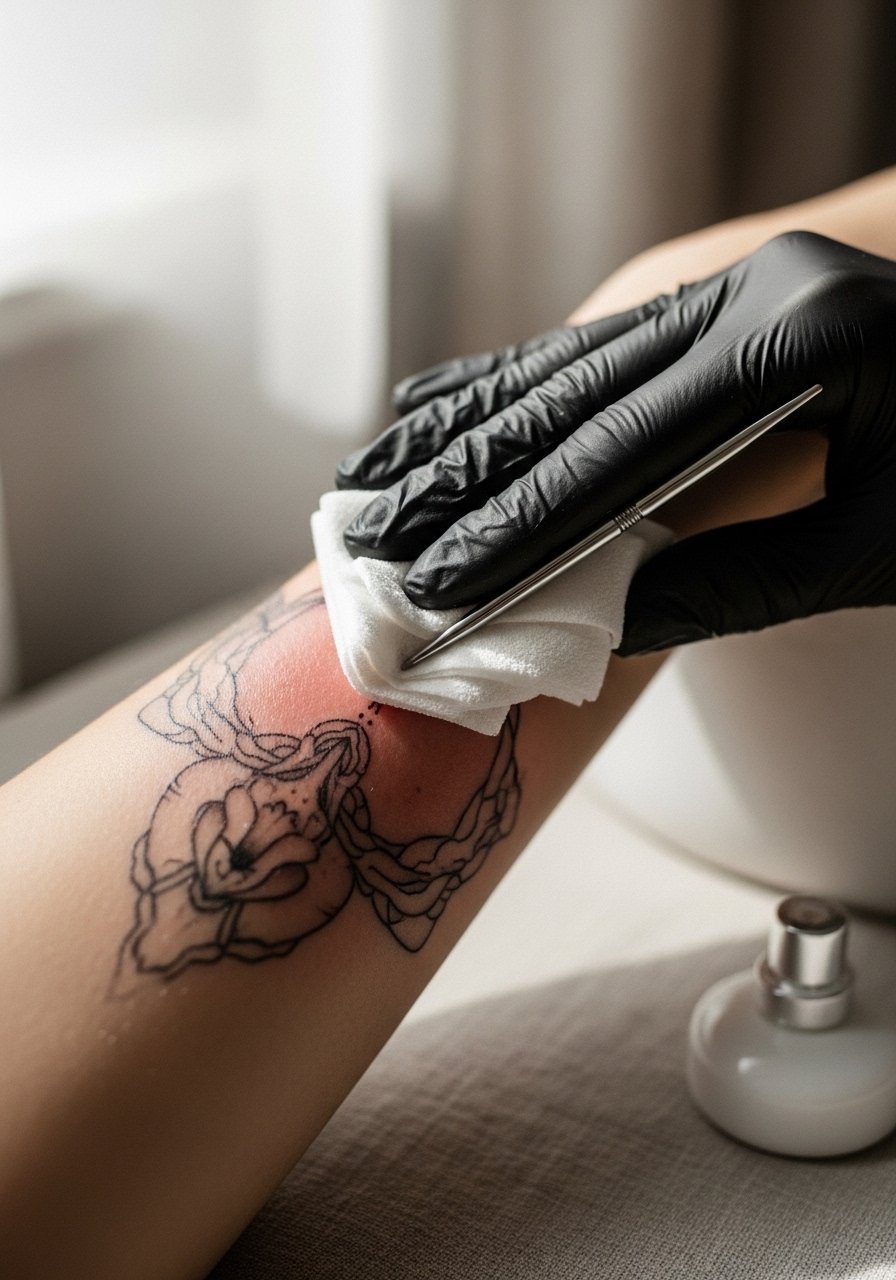
Right after the session:
- Follow the studio’s wrap instructions or apply a second-skin like Saniderm and leave for 3–5 days if advised.
- Wash gently twice daily with a fragrance-free soap such as Dr. Bronner’s unscented. Pat dry, then apply a thin layer of unscented lotion.
Expect peeling and mild itching between days 5–14; don’t pick scabs—this causes patchy healing and color loss.
Long-term care, fading prevention, and touch-ups
Maintaining a cohesive sleeve is about routine. Once healed:
- Use an unscented tattoo aftercare lotion twice a day during dry seasons to keep color pop.
- Keep a mineral SPF stick on hand for daily UV protection—sun fades ink faster than anything else.
- If colors soften or lines blur after 8–12 weeks, book a targeted touch-up rather than layering more work across the whole sleeve.
Small, regular care beats intensive fixes later.
You’ll also want a go-to balm for long-term hydration—options like Hustle Butter work well once the skin is fully healed.
Building out a sleeve from a shoulder cap is a patient process, but the payoff is a piece that looks like it was always meant to be there. Pack your aftercare kit (Saniderm, fragrance-free soap, unscented lotion), test placement with an Inkbox if you’re unsure, and book a consult with an artist who understands flow and touch-up timing.
Honestly, having a jar of Hustle Butter Deluxe on the shelf makes long-term maintenance painless. Pin this before your consultation, prep your aftercare kit the night before your appointment, and which placement are you leaning toward—inner arm or full wrap? Drop it below!