You’re scrolling reference photos at 2 a.m., finally ready to place that carnation you’ve sketched for months. The right carnation flower tattoo placement turns a pretty design into something personal and eye-catching, and small shifts in scale, angle, or body location change everything. This guide walks you through placement choices, stencil testing, pain and healing expectations, and an aftercare routine that helps your carnation look crisp for years.
I always keep a roll of Saniderm bandage roll and a fragrance-free soap on hand the night before an appointment. If you want to test placement, try an Inkbox semi-permanent tattoo kit so you can walk around with the carnation for a few days. Below you’ll find clear placement tips, prep steps, what healing really looks like, and long-term care for healed results.
Pick the best body spot for your carnation (fine line, minimalist, beginner placement)
Think about how often you want it visible and how the body moves. For fine line or minimalist carnations:
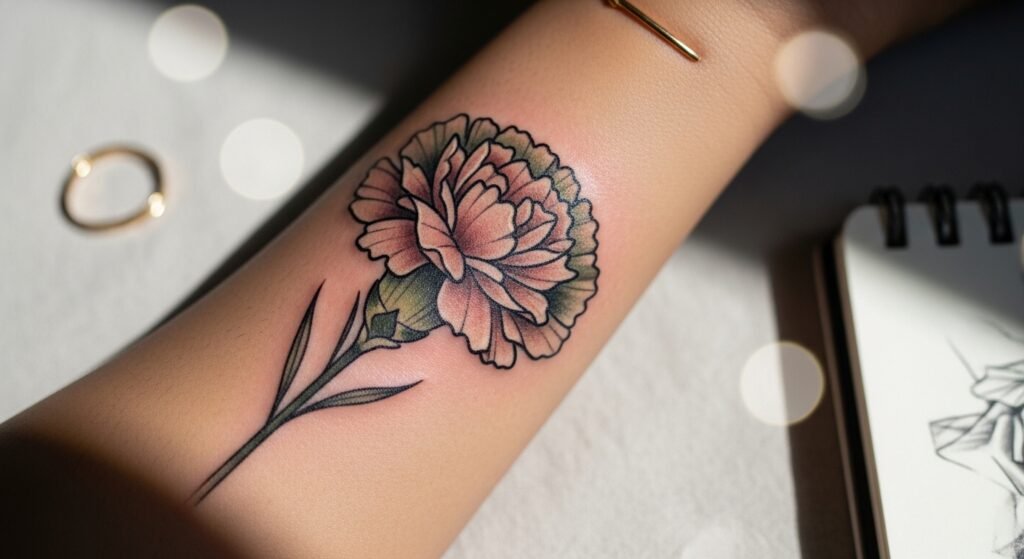
- Forearm or outer wrist = beginner placement; easy to show and photograph.
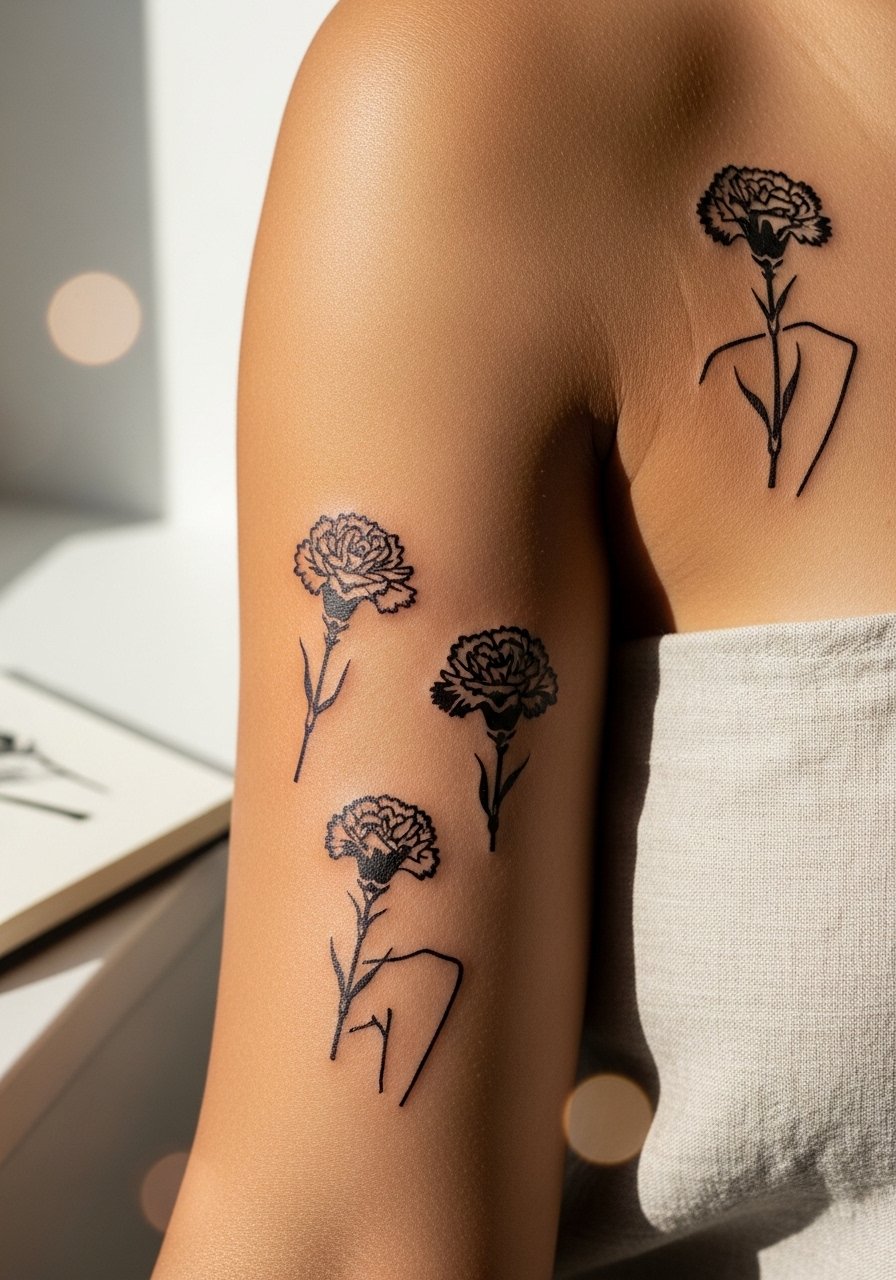
- Collarbone, shoulder, or behind the ear = subtle, flattering flow with clothing.
- Rib, hip, or ankle = higher pain but intimate and sculptural.
Scale matters: a 2–3 inch carnation holds fine line detail; anything smaller will blur faster. Bring reference photos that show the flower at the size you want.
Test placement and prep your skin (stencil tricks, Inkbox testing)
Try these steps before booking:
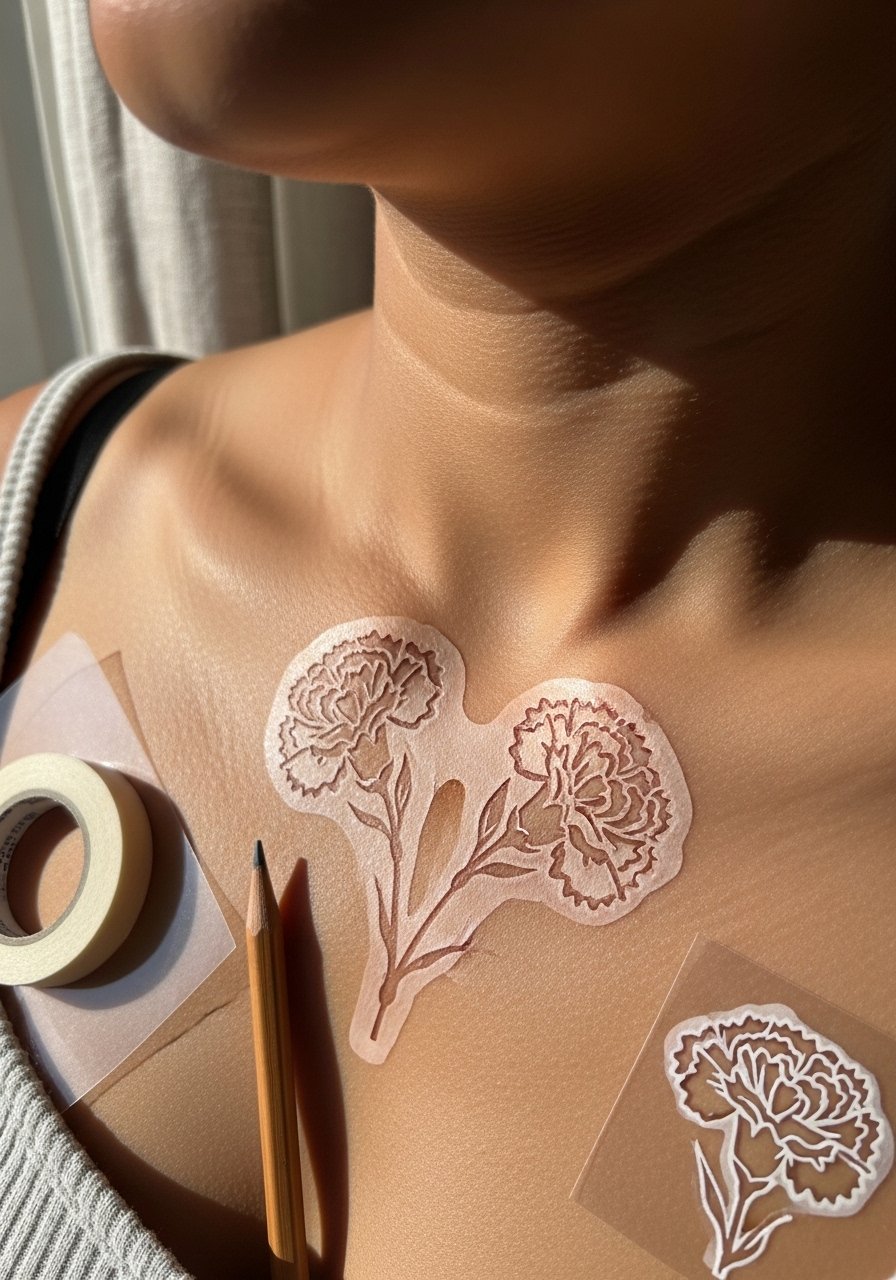
- Print a stencil or use an Inkbox semi-permanent tattoo kit to wear your design for 3–5 days.
- Shave clean with a single-use prep razor the night before—dry skin shaves cause fewer nicks.
- If you’re nervous about pain, apply a thin layer of Zensa numbing cream about an hour before the session (follow product timing).
Stencils show how the carnation curves with muscle and bone—move, bend, and photograph the area so you know how it settles in real life.
In the chair: size, flow, and picking the right artist (neo-traditional, blackwork, fine line)
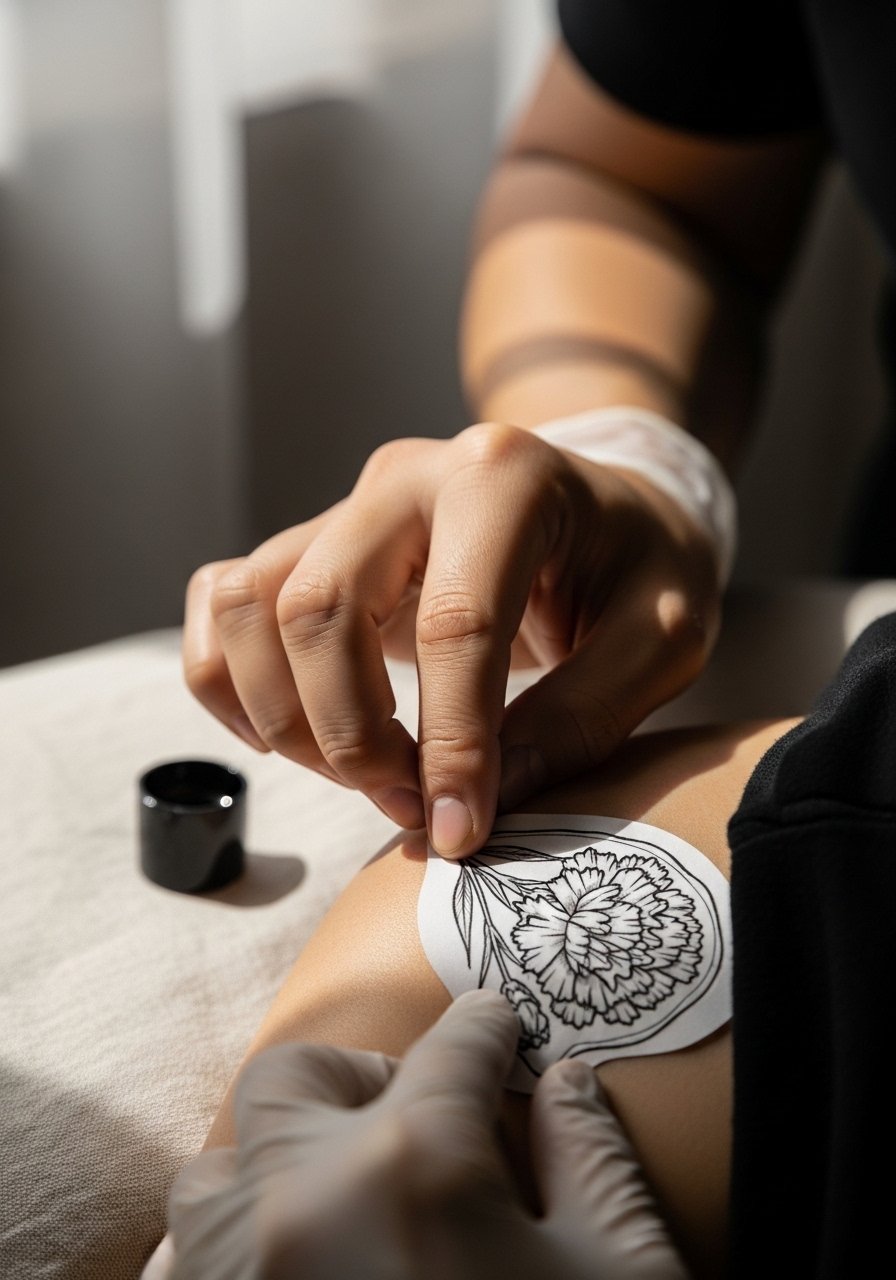
Tell your artist you want the carnation to “sit” with the bone structure, not across it. Ask to see healed photos of similar placements—healed results tell more than fresh work. If you prefer:
- Fine line carnations, pick an artist experienced in delicate blackwork.
- Neo-traditional carnations need heavier shading and bold lines; expect larger sizing.
Bring references but let the artist adapt line flow for the body.
Aftercare routine and what healing actually looks like (aftercare routine, peeling, touch-up)
Immediately after:
- Most artists wrap or apply a second-skin for 24–72 hours. If you use a Saniderm bandage roll, it can stay 3–5 days for less handling.
First wash (when you remove the wrap): - Use a gentle, fragrance-free soap like Dr. Bronner’s Unscented Castile twice daily.
- Pat dry and apply a thin layer of After Inked tattoo aftercare lotion 2x a day during peeling (usually days 4–14).
What’s normal: light peeling, itching, and slightly shiny skin. Avoid picking scabs—over-moisturizing makes skin soft and slows healing, and picking causes patchy ink. If the area shows excessive redness, spreading heat, or heavy pus, contact your artist or a medical professional.
Keep your carnation looking fresh long-term (SPF, touch-up timing, healed results)

Long-term care keeps lines crisp:
- Apply a mineral SPF 50 stick to any tattoo exposed to sun daily—UV causes the most fading.
- Use a small amount of Hustle Butter Deluxe or vitamin-rich oil occasionally to keep skin supple.
- Plan touch-ups after 6–12 months if lines soften; minor fixes are normal for fine line pieces.
Small rituals—shade, daily SPF, and monthly gentle moisturizing—preserve contrast and healed results.
You’ve got scale, placement testing, chair talk, and a realistic aftercare plan to place your carnation flower tattoo with confidence. Pack your aftercare kit tonight (Saniderm, a fragrance-free soap, and a good unscented lotion) and book that consult. Pin this before your appointment and tell me which placement you’re trying—collarbone, wrist, or rib?