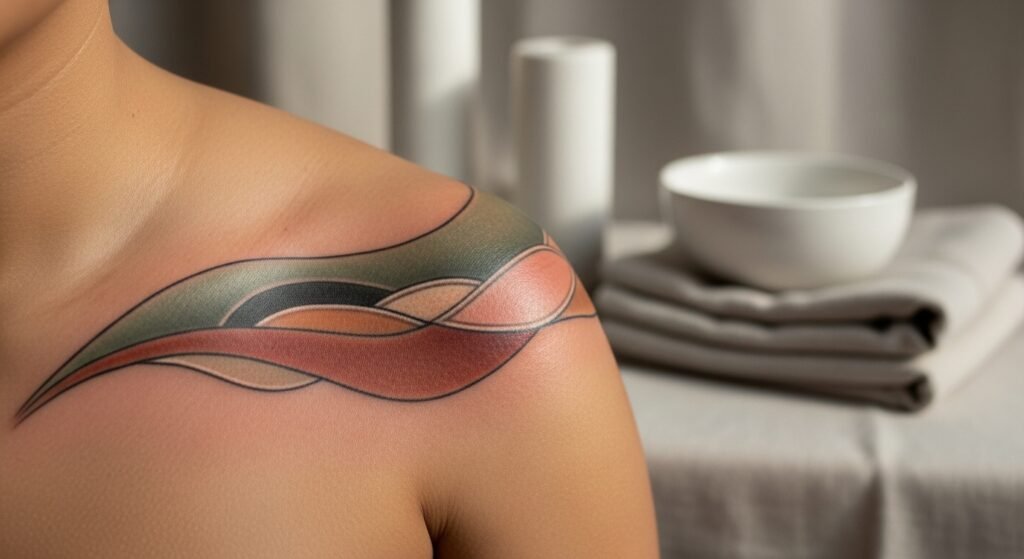
You’re staring at a saved Instagram post at 2 a.m., finally ready to place that shoulder cap tattoo you’ve sketched for months. The shoulder cap can read bold and balanced or delicate and whisper-thin depending on scale, placement, and how the design follows your muscle and collarbone. A good placement makes the tattoo feel like it was always meant to sit there.
If you want a flawless, symmetrical shoulder cap tattoo, testing placement and packing a small aftercare kit ahead of time makes everything easier. I keep a roll of Saniderm second-skin roll in my kit and a tube of Zensa numbing cream for extra-sensitive sessions. This guide walks you through choosing placement, testing stencils, studio talk, and a practical aftercare routine so your shoulder cap tattoo heals symmetrical and eye-catching.
Choose placement that flatters your shape
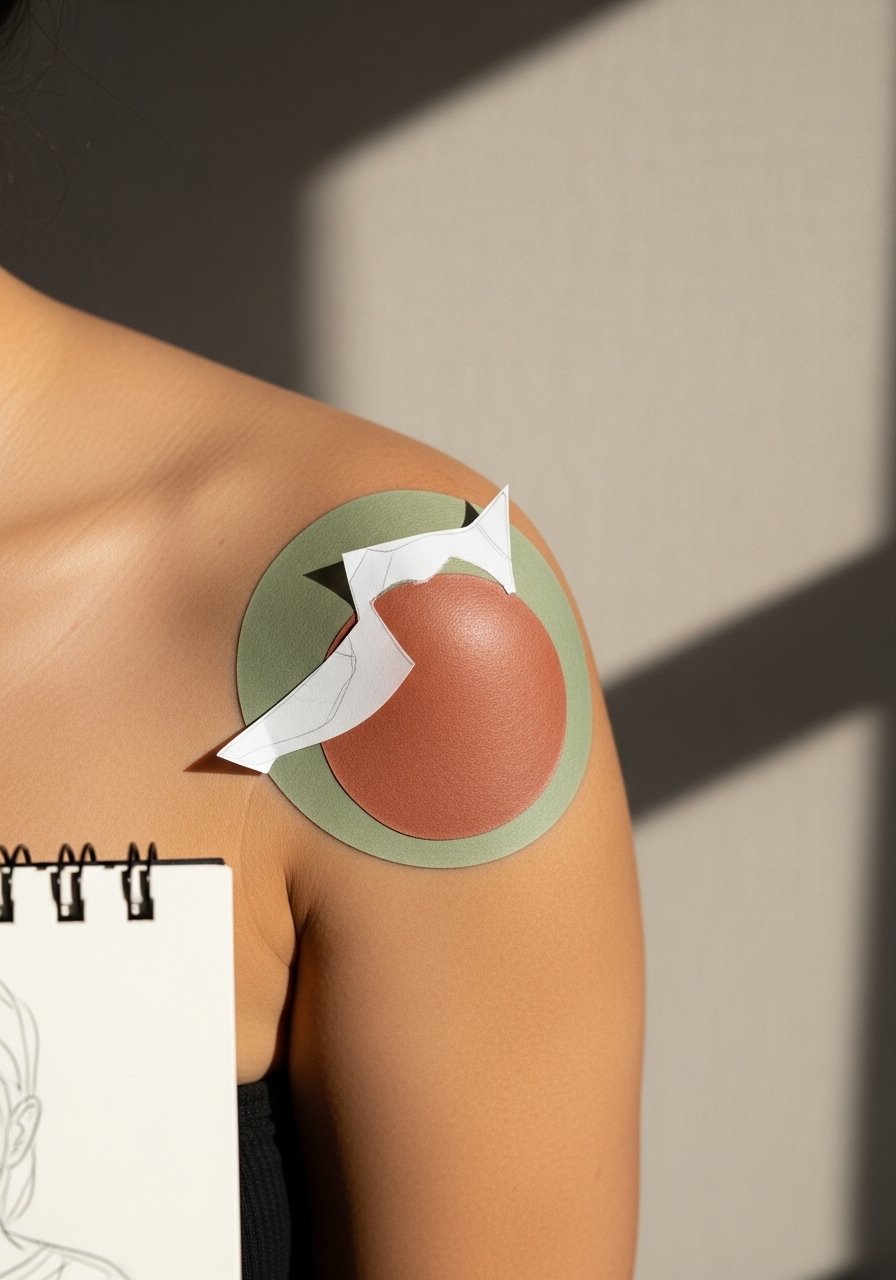
Think about clothing, movement, and how the tattoo will sit whether your arm is down or raised. For a flattering shoulder cap tattoo:
- Place the top edge just below the clavicle for balance and visibility.
- Center the main motif above the deltoid curve so it reads forward from the chest.
- Scale the design so it doesn’t wrap too far under the arm unless you want a shoulder sleeve.
Try a semi-permanent test to judge scale. Apply an Inkbox semi-permanent tattoo kit or use tattoo stencil transfer paper to map lines. If you need a clean shave for stencil clarity, use a single-use prep razor to avoid irritation.
Test placement before committing
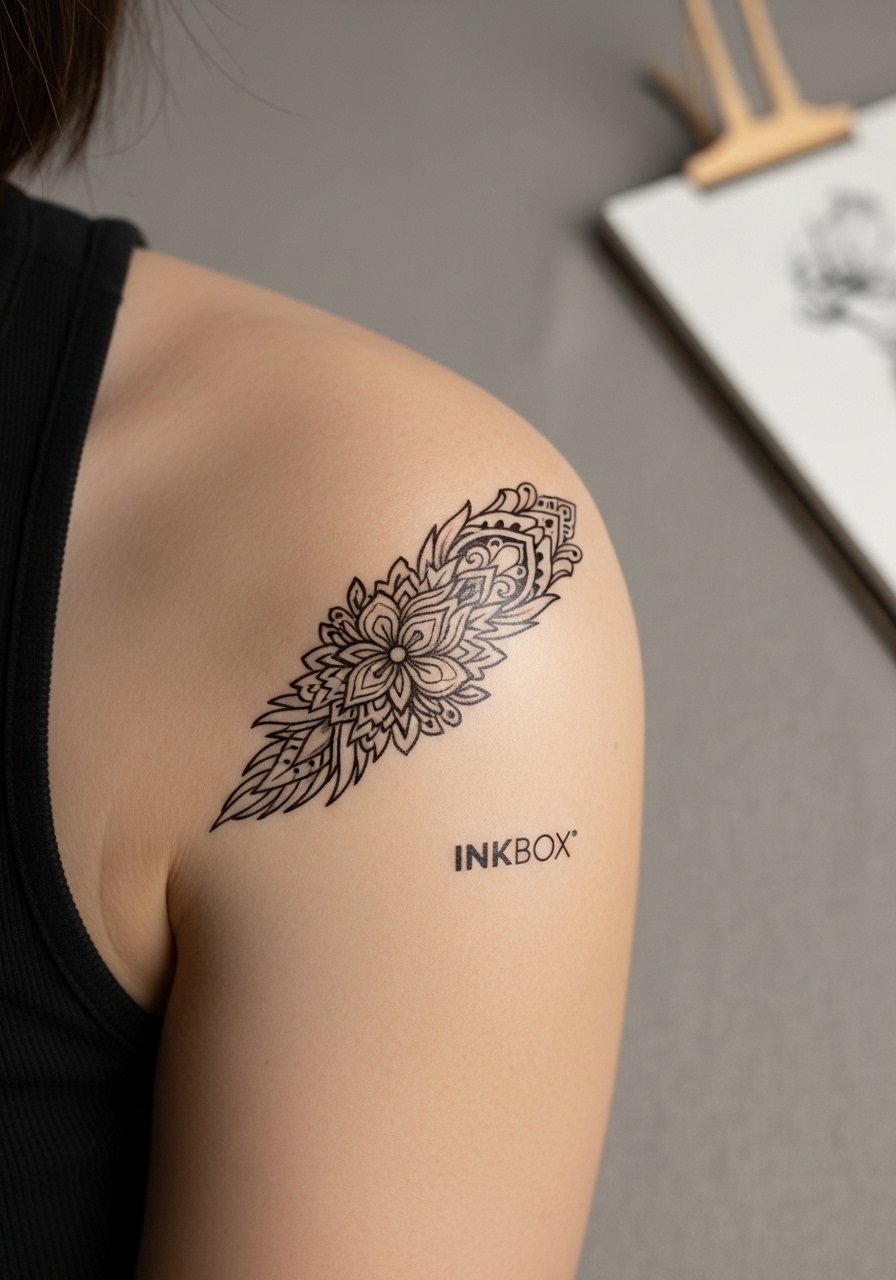
Don’t trust memory—test. Steps:
- Print or draw your design to scale and cut out a paper stencil. Tape it in place and check in a mirror with several arm positions.
- Wear the temporary (Inkbox) for 24–48 hours to see how it sits with clothes and movement.
- Adjust size or rotation until it looks balanced from the front and side.
Testing helps prevent a common mistake: too-large composition that overwhelms the shoulder or sits oddly when you move. If the placement feels off after a day, tweak it—this step can save you a touch-up later.
What to tell your artist during consultation
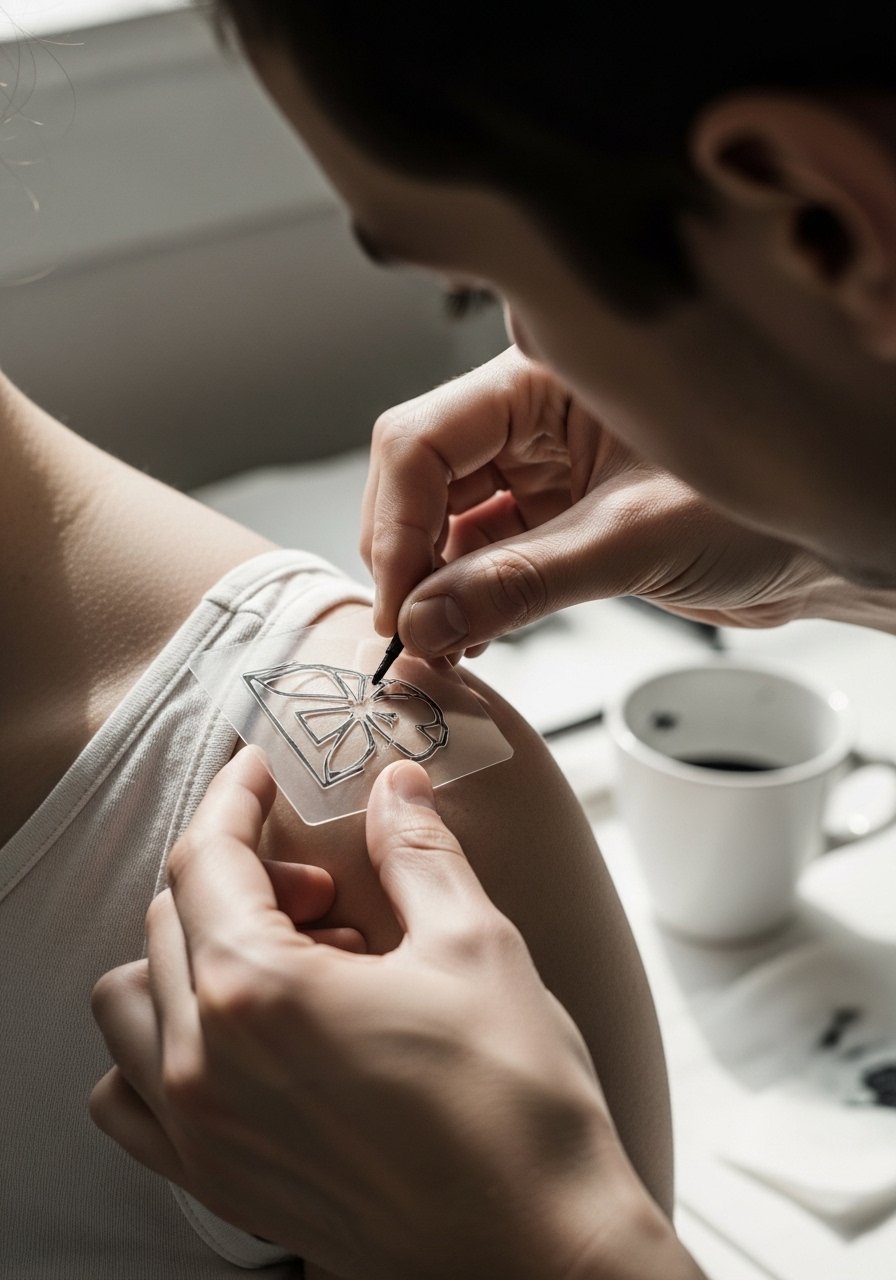
Be direct but collaborative. Tell your artist:
- Which images you want them to use as reference and which elements to prioritize.
- If you prefer fine line, minimalist, blackwork, or neo-traditional; mention how bold you want shading.
- Any pain concerns so they can adjust session length or offer numbing.
If pain is a worry in the high-mobility shoulder cap, consider applying a thin layer of EMLA numbing cream about an hour before your appointment (check with your artist first). Bring a photo of your tested placement so nothing is lost in translation.
Aftercare routine: first wash to healed results
What you do in the first two weeks makes the difference between a crisp healed result and faded patchiness.
- Immediately: follow the wrap instructions. Many artists use Saniderm; leave a second-skin bandage for 3–5 days unless your artist tells you otherwise.
- First wash (after removal): use a fragrance-free, dye-free soap twice a day—try Dr. Bronner’s Unscented Castile Soap. Gently pat dry with clean paper towel.
- Peeling phase (days 4–14): apply a thin film of unscented tattoo aftercare lotion twice daily. Don’t over-moisturize.
- For dry flaking, a small amount of Hustle Butter Deluxe tattoo aftercare helps skin feel supple without clogging pores.
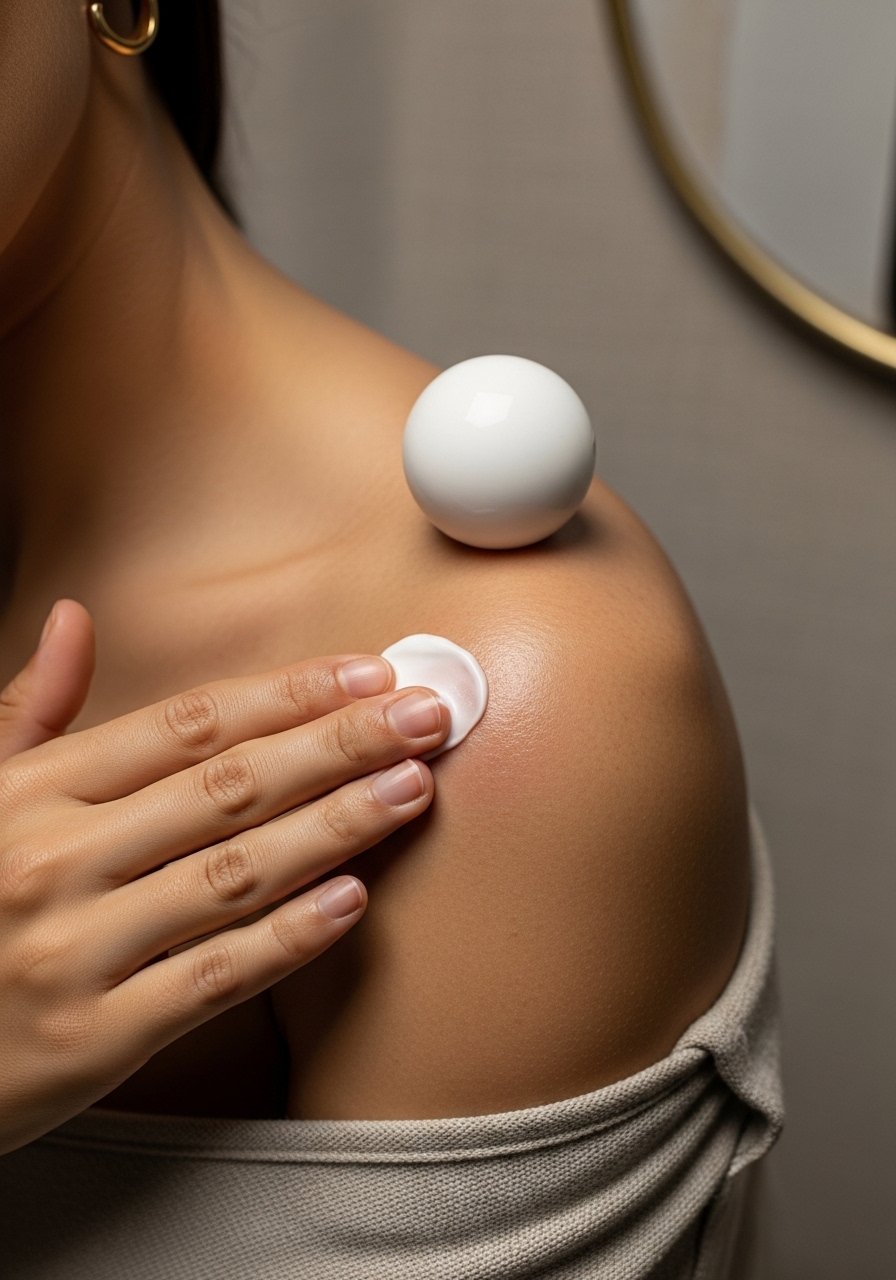
- After healed (after 4–6 weeks): protect your shoulder cap tattoo from sun with a mineral SPF 50 stick and occasionally rub in a Vitamin E oil to keep color vibrant.
Watch for warning signs: heavy swelling, pus, or intense redness that worsens—contact your artist or a doctor. Expect normal itching and light peeling; resist picking to avoid scarring and patchy healed results. For color refreshes, schedule a touch-up after 8–12 weeks if needed.
You’ve got this—book that consult, test the placement, and prep a simple aftercare kit. Pin this guide before your appointment and save the product links so you’re not scrambling post-session. Which shoulder cap design are you leaning toward? Drop it below!