You’re scrolling reference pictures at 2 a.m., replaying that moment you sketched an infinity symbol on your wrist. Placing an infinity tattoo well isn’t just about the symbol — it’s about flow, scale, and how that tiny piece interacts with your movement and wardrobe. This guide shows you how to place an infinity tattoo on your body so it flatters your shape and reads clearly every time.
I keep a roll of Saniderm second-skin bandage in my aftercare kit and a reliable numbing cream for sensitive spots. Read on for placement tricks, quick at-home tests, studio prep, healing timelines, and honest notes on pain, fading, and touch-ups.
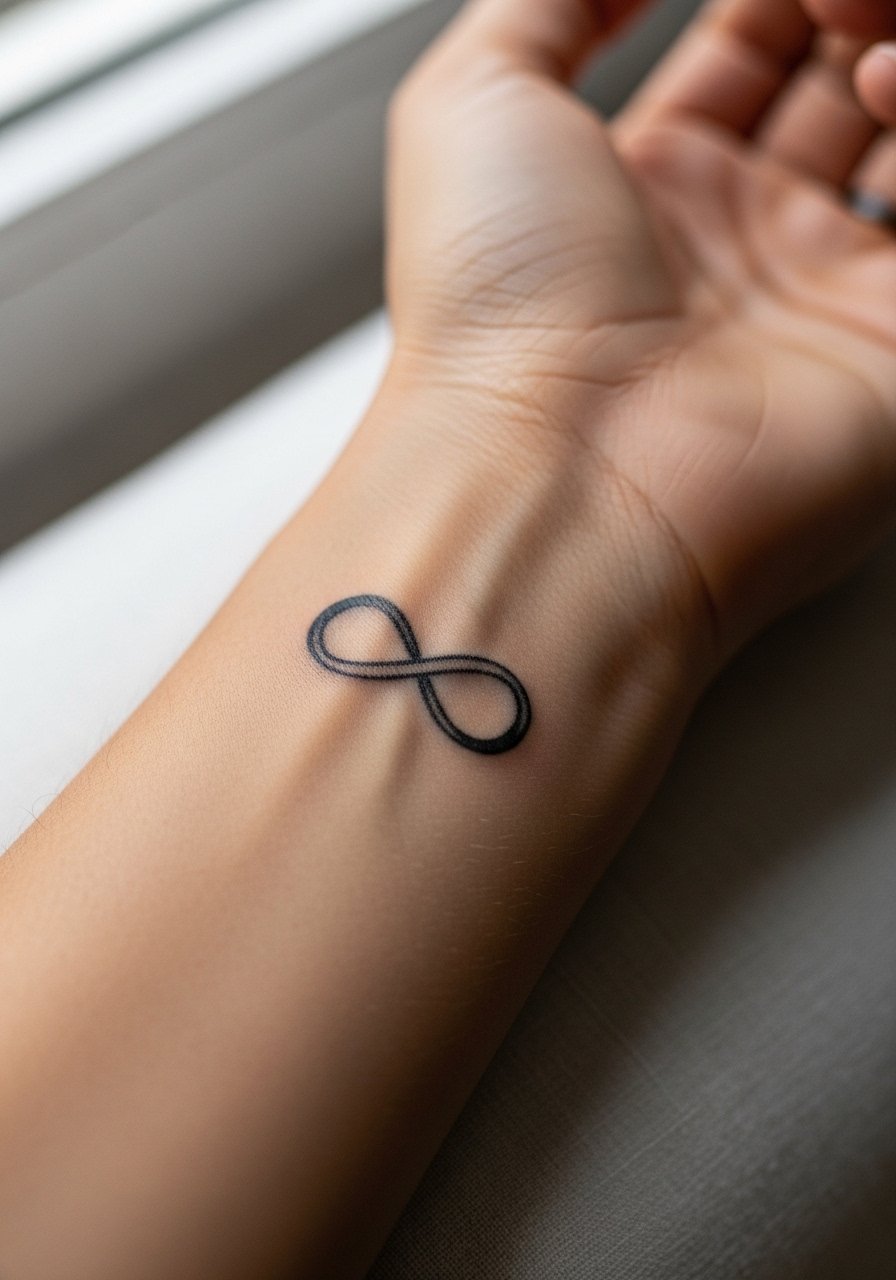
Visualize and choose the best placement for your infinity tattoo
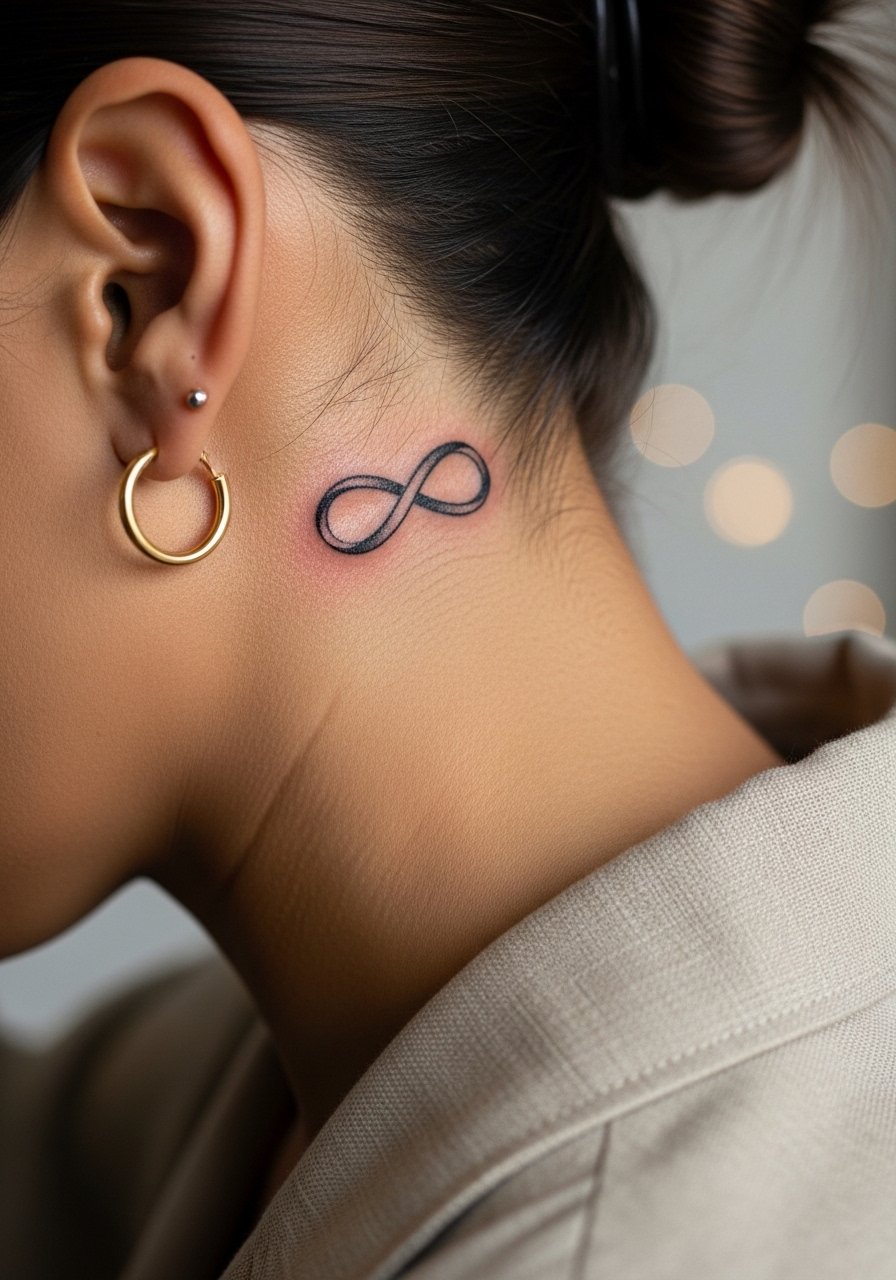
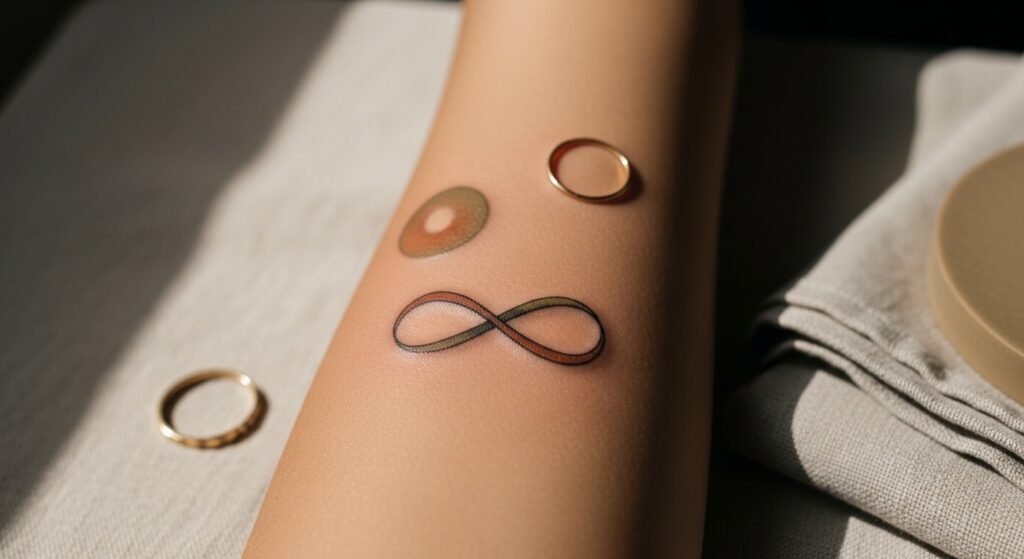
Think about daily visibility, clothing, and natural curves. The same small infinity can read delicate on the wrist and cramped on the side of the rib. Try these rules:
- For subtle jewelry-style ink, go on the inner wrist, behind the ear, or the ankle.
- For flow with movement, choose collarbone, forearm, or along a finger where the symbol can align with lines of the body.
- Scale: a fine-line infinity usually needs at least 1–1.5 inches of clear skin to keep detail sharp.
If you want to test a sense of scale and flow, try an Inkbox semi-permanent tattoo kit or use tattoo stencil transfer paper to place a temporary mockup.
Test placement safely before the needle
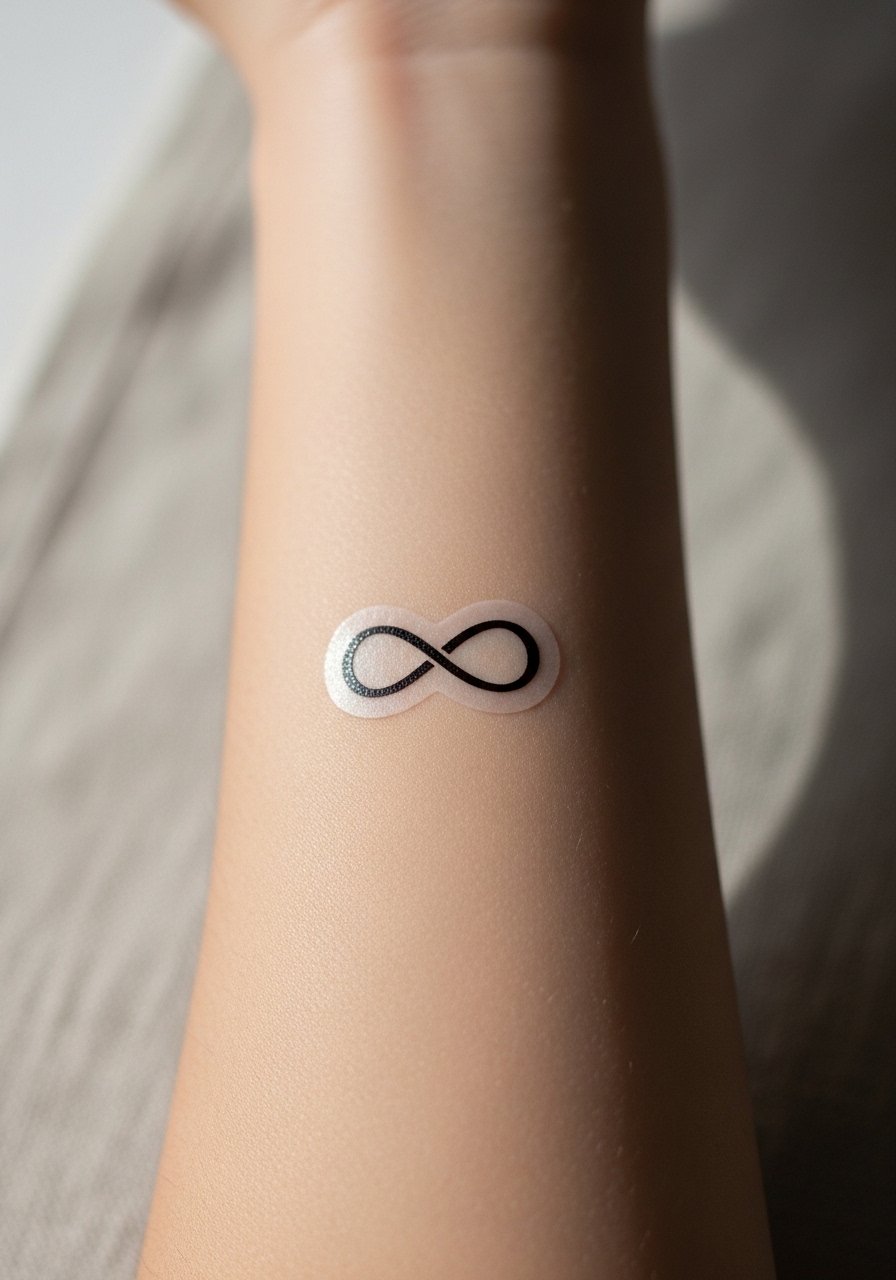
Testing prevents costly regrets. Steps:
- Print your design to scale or sketch it on tracing paper.
- Apply a temporary with Inkbox or transfer paper and live with it for 24–48 hours.
- Move, wear the clothes you’d normally wear, and photograph the placement in different light.
If you use a digital mockup, an iPad + Apple Pencil with Procreate makes it easy to overlay designs on a selfie for scale and rotation.
Prep and sit: practical tips for a smooth session
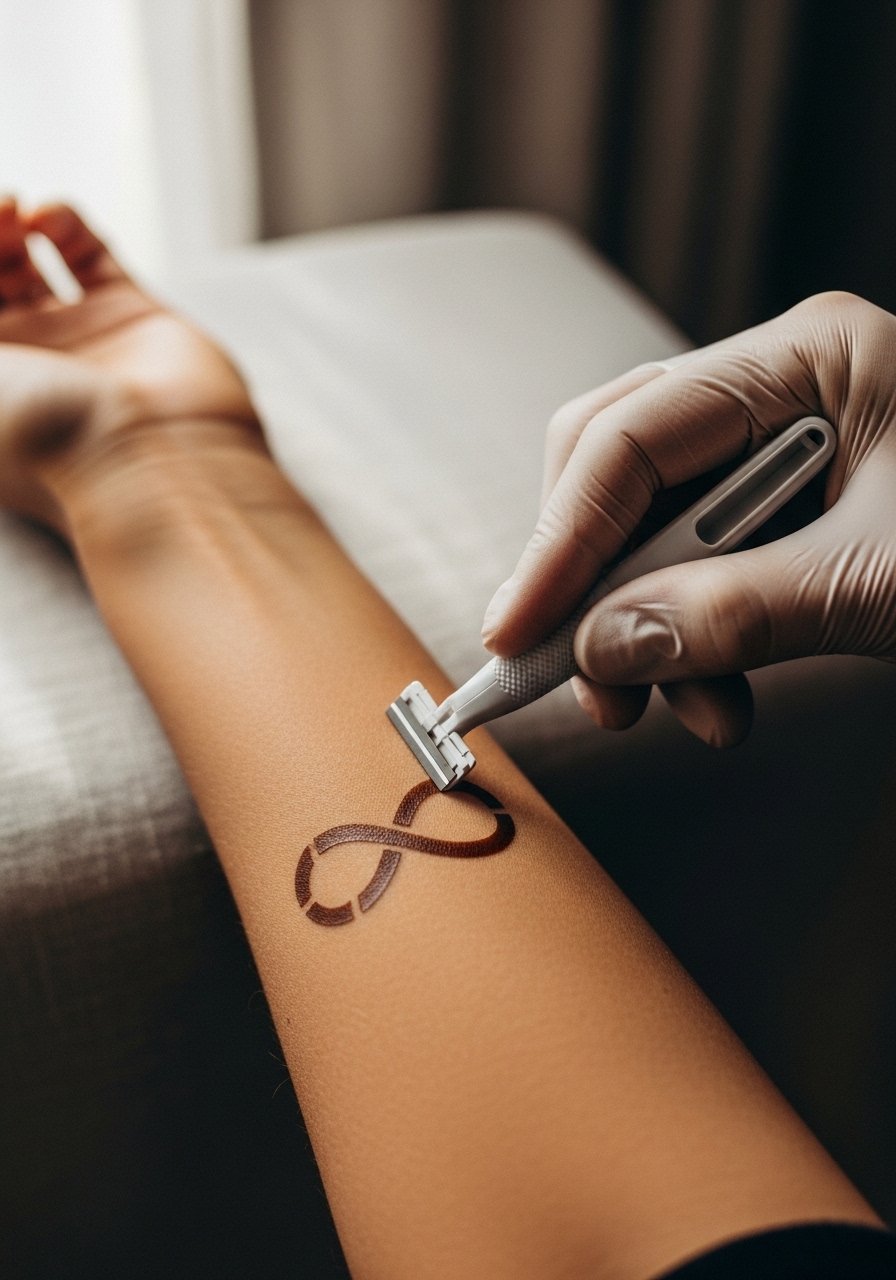
Prepping your skin and communicating with your artist matters. Do this:
- Shave cleanly the night before with a single-use prep razor.
- Use a fragrance-free, dye-free antibacterial soap to wash the area twice the day before and the morning of; try Dr. Bronner's unscented soap.
- If you’re nervous about pain on ribs, sternum, or inner wrist, apply a numbing cream about 45–60 minutes before the appointment (follow product directions).
Tell your artist about scars, stretch marks, or sensitive spots. Ask to see a stencil laid exactly where you’ll be sitting before any ink touches skin.
Aftercare and long-term care for a clean, lasting infinity
Healing timelines are realistic: first 48 hours—plasma and light oozing; days 3–7—flaking and itching; 2–4 weeks—surface healed, but deeper layers still settle. Tips:
- Keep the first 24–48 hours covered with a Saniderm patch and follow your artist’s timeline for removal.
- Wash gently twice a day with the unscented soap, pat dry, then apply a thin layer of After Inked unscented tattoo lotion 2x daily during peeling.
- For faster itch relief and skin conditioning, a light swipe of Hustle Butter Deluxe after peeling helps.
- Once healed, protect color by using a mineral SPF stick 50+ on exposed placements and a dab of vitamin E oil for long-term gloss.
Watch for red streaks, heavy swelling, or fever—those are signs to contact your artist or a professional.
Keep in mind touch-ups: fine-line blackwork can blur over years; plan a touch-up at 12–18 months if lines soften. Avoid picking flakes, over-moisturizing, and sun during the first month.
You’ve got a plan, a shortlist of practical products, and a timeline to follow. Pin this guide before your consultation, prep your aftercare kit, and book that stencil try-on — which placement are you testing first?